Low-volume CNC machining is a manufacturing process for producing small quantities of plastic or metal parts, typically ranging from 1 to 1,000 units. It bridges the gap between prototyping and full-scale production, offering precision and material flexibility without high-volume tooling costs.
01What Is Low-Volume CNC Machining?
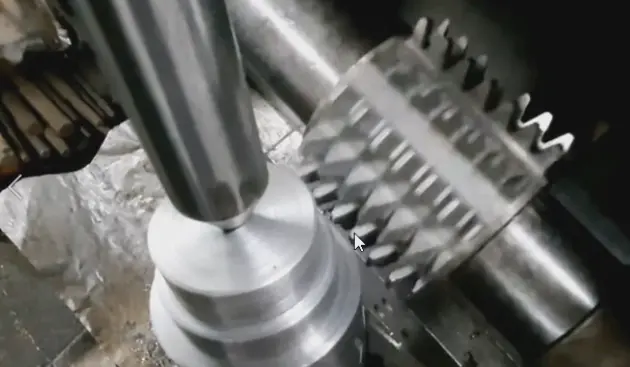
Low-volume CNC machining uses computer-controlled mills, lathes, and routers to remove material from solid blocks to create finished parts. Unlike injection molding or casting, it requires no expensive molds, making it cost-effective for small batches.
Typical batch sizes:
1–10 parts: Prototypes or one-off custom components
10–100 parts: Functional testing, pilot runs, or bridge tooling
100–1,000 parts: Low-rate initial production or replacement parts
02Why Choose Low-Volume CNC Machining?
1. No hard tooling costs – You only pay for machine time and material. Setup fees are minimal compared to molding.
2. Fast turnaround – Simple parts can be machined in 3–5 business days. Complex geometries may take 10–15 days.
3. Material versatility – Use production-grade materials: aluminum 6061, stainless steel 304, brass, POM (Delrin), ABS, PEEK, and more.
4. Tight tolerances – Achieve ±0.005″ (±0.13 mm) or better, suitable for functional assemblies.
5. Design changes allowed – Modify CAD files between batches with no penalty, unlike hard tooling.

03Real-World Examples (No Brand Names)
Case 1: Medical device startup – Needed 15 surgical instrument handles for FDA testing. Used low-volume CNC to machine from 316L stainless steel. Cost was $48 per part with 7-day delivery. If they had used injection molding, the mold alone would have been $8,000.
Case 2: Custom automotive shop – Required 50 aluminum intake manifold adapters for a limited production run. Low-volume CNC delivered parts with 0.002″ flatness tolerance. Total cost: $2,200. Alternative casting would have required a $5,000 pattern.
Case 3: Robotics team – Needed 20 gearboxes in nylon. CNC machining from solid PA6 provided strength comparable to molded parts. Lead time: 9 days. Molding would have taken 6 weeks just for tooling.
These cases show that low-volume CNC is not a compromise — it is often the optimal solution when quantities are low and quality cannot be sacrificed.
04Cost Factors in Low-Volume CNC Machining
Understanding what drives cost helps you make smarter decisions.
Example calculation: A 2″×3″ aluminum bracket with 4 holes.
1 part: $180 total ($150 setup + $30 machining)
10 parts: $210 total ($150 setup + $60 machining) → $21 per part
100 parts: $600 total ($150 setup + $450 machining) → $6 per part
The setup cost is amortized over the batch, so per-part price drops sharply as quantity increases.
05When NOT to Use Low-Volume CNC Machining
Low-volume CNC is not always the right choice. Consider alternatives in these situations:
Quantities above 5,000 parts – Injection molding or die casting becomes cheaper per part.
Extremely complex internal cavities – CNC may be impossible or very expensive; consider investment casting.
Elastomeric parts (rubber-like) – CNC is not suitable for flexible materials; use liquid silicone rubber molding.
Parts with undercuts or closed internal channels – May require EDM or additive manufacturing instead.
06Step-by-Step: How to Get Low-Volume CNC Parts Made
Follow this proven process to avoid delays and extra costs.
Step 1: Finalize your CAD model – Use standard drill sizes (e.g., #10, 1/4″), avoid sharp internal corners (add fillets R=0.5mm minimum), and keep wall thickness ≥0.8mm for metals, ≥1.5mm for plastics.
Step 2: Choose materials – Check stock availability. Common sizes (e.g., 1″ thick plate, 1/2″ rod) are cheaper than custom extrusions.
Step 3: Get quotes from multiple machine shops – Provide STEP or IGES files, specify tolerance (default ±0.005″ is fine for most), and state surface finish requirements.
Step 4: Review design for manufacturability (DFM) – A good shop will suggest changes like adding radii to corners or adjusting hole depths. Accept these — they lower cost and prevent breakage.
Step 5: Approve a sample part – For batches over 50 units, request a first-article inspection report. This catches errors before full run.
Step 6: Production and shipping – Typical lead time: 5–15 business days for low-volume orders. Express options (2–3 days) cost 30–50% more.
07Common Mistakes to Avoid
Specifying overly tight tolerances – ±0.001″ costs 3x more than ±0.005″. Only call out what you truly need.
Using non-standard hole sizes – A 6.35mm hole requires a custom end mill; 6.3mm or 6.4mm is standard.
Forgetting surface finish callouts – As-machined finish (32–63 μin Ra) is fine for most. Polishing or anodizing adds cost.
Sending incomplete drawings – Missing thread specifications (e.g., M6×1.0) forces shops to guess, causing rework.
08Summary: Core Takeaway
Low-volume CNC machining is the most reliable method for producing 1 to 1,000 high-precision metal or plastic parts without the expense of hard tooling. It offers production-grade materials, tight tolerances, and fast iteration — ideal for prototypes, bridge production, and small-batch manufacturing.
Actionable next steps:
1. Review your CAD model and simplify features where possible.
2. Request quotes from at least three machine shops (avoid the cheapest — quality matters).
3. Order a first article before committing to the full batch.
4. For repeat orders, ask about material cost breaks at 50, 100, and 500 units.
Low-volume CNC machining is not a “lesser” alternative — for many engineers and small businesses, it is the smartest path to functional parts. Start your project by applying the cost-reduction tips above, and you will get quality components on time and within budget.