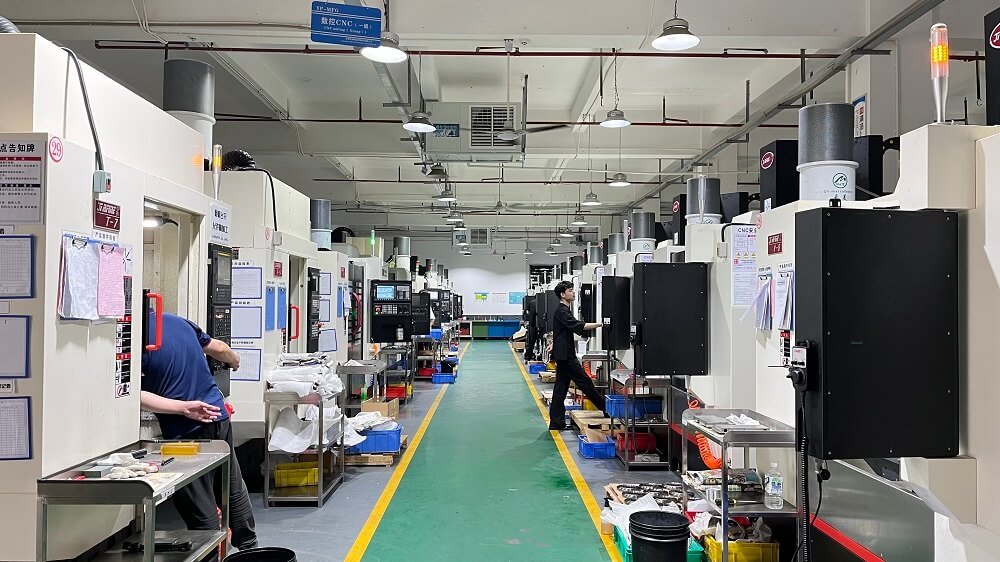
Operating a CNC (Computer Numerical Control) machine is a precise skill that combines technical setup, programming knowledge, and strict safety protocols. This guide provides a clear, actionable process for safely and effectively operating a standard CNC mill or lathe, ensuring both operator safety and part quality.
01Pre-Operation Safety and Preparation
Before powering on the machine, a thorough safety check is mandatory. This step is not optional; it prevents equipment damage and life-altering injuries.
Personal Protective Equipment (PPE): Always wear safety glasses with side shields, hearing protection (as CNC machines can exceed 85 dB), and closed-toe steel-toed shoes. Remove any loose clothing, jewelry, or tie back long hair to prevent entanglement in rotating spindles.
Machine Inspection: Verify that the machine’s emergency stop (E-stop) button is functional. Check that all safety interlocks (door switches) are working. Ensure the work area is clean and free of tools, oil spills, or obstructions.
Material and Tool Check: Confirm that the workpiece is securely clamped in the vise or chuck. Loose workpieces are a primary cause of tool breakage and hazardous projectiles. Verify that the cutting tools are tightly held in the tool holder and that the tool numbers in the machine match the tool offsets in the control program.
02Machine Startup and Homing
Once safety checks are complete, power on the main circuit breaker, then the machine control panel.
Power On: Start the CNC control. Allow the machine to complete its internal boot-up sequence.
Homing (Reference Return): This is the most critical step after startup. Press the “Home” or “Reference Return” button. The machine will move each axis (X, Y, Z) until it finds its predefined zero point.
Why this matters: The machine loses its positional memory when powered off. Homing establishes a known coordinate system. If you skip homing, the machine does not know where the table or spindle is relative to the part, which will result in a crash the moment a program is run.
Common case: An operator in a job shop once failed to home a vertical mill after a lunch break. When they ran the program, the machine attempted to move the spindle to a position that was physically outside the machine’s travel limits, causing a collision with the table limit switch and requiring a $4,000 service call to realign the axis.
03Work Offset and Tool Length Offset Setting
Accurate offsets are the foundation of precision machining. You must define where the part is located in the machine’s workspace (Work Offset) and how long each tool is (Tool Length Offset).
Work Offset (G54-G59): Use a probe or edge finder to locate the part’s zero point (usually the top-left corner or center of the workpiece).
1. Jog the spindle to touch the X-axis side of the part.
2. Record the machine coordinate.
3. Repeat for the Y-axis.
4. Input these values into the G54 work offset register. This tells the machine where the part’s origin is.
Tool Length Offset (H): For each tool in the program, measure its length relative to a fixed reference point (e.g., the spindle gauge line or the top of the part).
1. Use a tool presetter or manually touch off each tool on the top of the part or a reference block.
2. Enter the measured length into the tool offset page (e.g., H01 for Tool 1).
Critical Rule: If the tool offset value is incorrect by even 0.01 inches, the tool may either crash into the part at rapid traverse speed or cut in the air, scrapping the component.
04Program Loading and Verification
After setup, you must load the G-code program and verify it before cutting material.
Loading: Transfer the program via USB, network (DNC), or manual entry to the machine’s memory.
Visual Check: Review the program header for correct work offset (G54), spindle speed (S) limits, and coolant commands (M08).
Single Block Mode: Run the program in “Single Block” mode with the feed rate override set to 0% and the rapid traverse override set to 25%.
1. Cycle start: Observe the first command.
2. Press cycle start again for each line.
3. Watch the “Distance to Go” screen to ensure the machine is moving in the correct direction.
Dry Run: If the tool path looks correct in Single Block,perform a “Dry Run” without the workpiece in place, or raise the tool 1 inch above the part. This verifies the entire program path is free of errors or potential collisions.
05First Part Run and Inspection
The first run of a new setup requires the highest level of vigilance.
1. Load Material: Place the actual workpiece in the vise or chuck.
2. Set Feed and Speed Overrides: Reduce the feed rate to 50% of programmed value.
3. Initiate Cycle: Start the program. Keep your hand on the feed hold button and your eyes on the tool.
4. In-Process Checks:
Listen: Listen for chatter (high-pitched vibration) or excessive cutting loads.
Watch Coolant: Ensure coolant is reaching the cutting zone.
Chip Formation: Observe the chips. Long stringy chips indicate poor chip evacuation and can wrap around the tool, leading to breakage.
5. First Article Inspection: After the cycle finishes, remove the part and measure all critical dimensions using calipers, micrometers, or a coordinate measuring machine (CMM).
Common scenario: A machinist runs a complex part without first-part inspection. They assume the offsets were correct but discover after 10 parts that the bore diameter is 0.003 inches under tolerance. All 10 parts are now scrap, costing the company both material and labor. A first-article inspection after the first part would have prevented this waste.
06Production Monitoring and Maintenance
During production runs, the operator’s role shifts from active setup to monitoring.
Periodic Checks: Inspect one part every 30–60 minutes to verify process stability. Tool wear will cause dimensions to drift.
Tool Wear Offsets: Use tool wear offset columns (often labeled “Wear”) to make micro-adjustments of ±0.0005 inches without changing the base tool length offset.
Machine Maintenance: Follow the manufacturer’s maintenance schedule. This includes:
Daily: Clean chips from the ways and coolant tank strainer.
Weekly: Check way lube oil levels.
Monthly: Inspect coolant concentration with a refractometer to prevent bacteria growth and corrosion.
07Shutdown Procedure
Proper shutdown extends machine life and ensures safety for the next operator.
1. Retract Tools: Move the spindle to a safe position, typically the machine’s home position or a designated “tool change” position.
2. Clean Machine: Remove all chips from the work area. Chips left overnight can harden and damage way covers.
3. Power Down: If the machine will be idle for more than 8 hours, press the E-stop button or follow the official power-off sequence. For machines with absolute encoders, shutting down to the control’s power button (not the main breaker) is standard to preserve battery life.
08Conclusion
Operating a CNC machine is a systematic process that prioritizes safety, precision, and verification. Success is not measured by how fast you push “Cycle Start,” but by the consistency of the parts produced without machine crashes or tool failures.
Actionable Summary:
1. Never skip homing after startup—it prevents coordinate loss and crashes.
2. Always verify work and tool offsets before running a program; a 0.01-inch error is the difference between a good part and a collision.
3. Use Single Block and Dry Run for every new setup to validate the tool path without risk.
4. Inspect the first part before running production to confirm process capability.
5. Maintain the machine daily to ensure long-term accuracy and reliability.
By adhering to this structured workflow, operators minimize risk, reduce scrap rates, and maintain the high precision standards required in modern manufacturing.