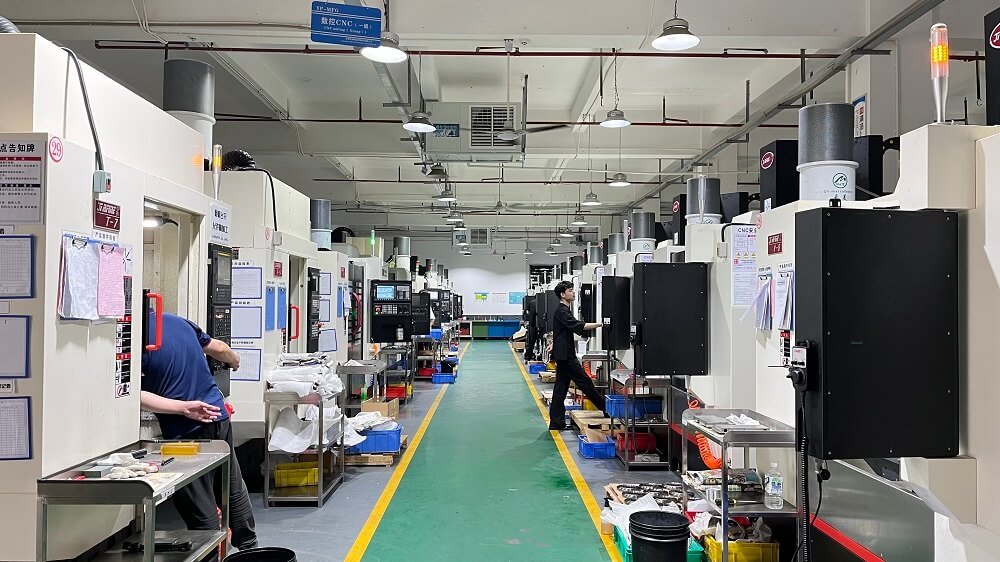
If you run a CNC machine, you need CAM software to turn your designs into machine-readable code. Choosing the right CAM program directly affects your machining accuracy, cycle time, and ease of operation. This guide explains exactly what CAM programs do, how to evaluate them for your specific CNC machine type (mills, lathes, routers, or plasma cutters), and which key features matter most in daily shop floor use.
01What a CAM Program Does for Your CNC Machine
A CAM (Computer-Aided Manufacturing) program takes a 3D model or 2D drawing and generates G-code—the step-by-step instructions your CNC machine follows to cut, drill, or shape material. Without a CAM program, you would have to write G-code manually, which is slow, error-prone, and impractical for complex parts.
Core outputs of any CAM program:
Toolpaths (roughing, finishing, drilling, contouring)
Feeds and speeds for each operation
Tool selection and change commands
Work offset and coordinate system data
Post-processed G-code specific to your machine’s controller (e.g., Fanuc, Haas, Siemens, Mach3)
Real-world example: A small job shop received a batch of 500 aluminum brackets. Using a CAM program, they generated optimized toolpaths in 20 minutes instead of spending 8 hours hand-coding. The result: 30% faster cycle time and zero crashes.
02Critical Factors When Evaluating CAM Programs
Not all CAM programs work equally well for every CNC machine. Focus on these four factors to avoid buying software that doesn’t fit your workflow.
2.1 Machine Type and Post-Processor Compatibility
Your CAM program must include a post-processor that matches your exact CNC machine model and controller. A post-processor translates generic toolpath data into the specific G-code dialect your machine understands.
What to check:
Does the CAM vendor offer a post for your machine brand and model?
Can you edit or customize the post-processor (for older or modified machines)?
Is the post-processor proven on your machine type (3-axis, 4-axis, 5-axis, mill-turn)?
Common issue: A shop bought a popular CAM package but their 5-axis Haas VF-2SS wouldn’t accept the posted code. They had to pay $1,500 for a custom post. Always test the post with a sample file before purchasing.
2.2 Toolpath Strategies You Actually Need
Basic 2.5-axis CAM (pocketing, contouring, drilling) costs less and runs faster on simple parts. Full 3-axis and 5-axis CAM is essential for complex surfaces, undercuts, or multi-sided machining.
Match CAM capability to your parts:
| Your typical parts | Minimum CAM requirement |
|---|---|
| Flat plates, simple brackets, drill holes | 2.5-axis |
| Prismatic parts with angled faces | 3-axis |
| Molds, dies, turbine blades | 3+2 axis (positional 5-axis) |
| Impellers, aerospace structural parts | Full simultaneous 5-axis |
Case: A sign-making shop bought a full 5-axis CAM system but only ever cut flat letters from plywood. They wasted $8,000 and struggled with an overly complex interface. A $1,500 2.5-axis program would have done the job faster.
2.3 Simulation and Collision Detection
Every CAM program should include a built-in simulator that shows tool motion, stock removal, and machine movements before you run code on the real machine. This prevents crashes, broken tools, and scrapped parts.
What good simulation does:
Highlights rapid moves that could hit fixtures or the machine table
Warns if the tool holder or spindle collides with the part
Checks for leftover material after roughing
Verifies that tool lengths and offsets are safe
Real shop incident: A programmer trusted the toolpath display but skipped simulation. The first move drove a 1-inch endmill straight into a vise jaw. Repair cost: $2,800. Simulation would have shown the error in 10 seconds.
2.4 Feeds and Speeds Calculation
Modern CAM programs include a built-in library of cutting data for common materials (aluminum, steel, stainless, titanium, plastics). You input material, tool diameter, flute count, and depth of cut; the CAM program suggests starting speeds and feeds.
Why this matters: Incorrect feeds and speeds cause tool breakage (too aggressive), poor surface finish (too slow), or excessive cycle time (too conservative). A good CAM program adjusts feeds automatically based on tool engagement angle and corner conditions.
03Step-by-Step Workflow: From Model to CNC Cut
Here is how you use a typical CAM program on your shop floor. The exact menu names vary, but the sequence is universal.
Step 1 – Import geometry
Load a STEP, IGES, or native CAD file. Avoid STL files for machining – they lack accuracy for toolpath calculation.
Step 2 – Define stock and work zero
Set the raw block size (e.g., 100mm x 50mm x 25mm) and choose where X0 Y0 Z0 is on your machine (usually top-left corner or center of part).
Step 3 – Create operations
Add roughing (remove bulk material), semi-finishing (prepare surface),finishing (final dimensions), and drilling cycles.
Step 4 – Assign tools
Select from a tool library (endmills, drills, face mills, etc.). Enter actual tool diameter, length, and number of flutes.
Step 5 – Calculate toolpaths
The CAM program computes the path. If the result has sharp corners or air cuts, adjust stepover, stepdown, or machining strategy.
Step 6 – Simulate and verify
Run the simulation. Check for gouges, rapid collisions, and leftover material. Fix any issues before posting.
Step 7 – Post-process
Select your machine’s post-processor. Generate G-code. Save the .nc or .txt file.
Step 8 – Run on CNC machine
Do a dry run with no material or with Z-axis raised 50mm. Then run the first part and inspect dimensions.
Common mistake: A machinist skipped the dry run on a new CAM program. The tool rapid-traversed through the part because the work offset was set incorrectly. Always dry-run first.
04How to Compare CAM Programs for Your CNC Machine
Use this checklist to evaluate any CAM software before buying. Score each factor from 1 (poor) to 5 (excellent).
| Factor | What to check |
|---|---|
| Post-processor quality | Ask for a sample G-code for your exact machine. Test it on a simple part. |
| Learning curve | Can you make a basic part in 2 hours of tutorial? |
| Toolpath calculation speed | Time to compute a 3D roughing pass on a 200x200mm part. |
| Simulation accuracy | Does it show holder collisions and exact stock removal? |
| Material library | Includes feeds/speeds for metals you machine (e.g., 6061, 4140, 304). |
| Technical support | Response time for a post-processor error or crash question. |
| Price model | Perpetual license vs subscription. Maintenance cost for updates. |
Real comparison: Two shops with identical 3-axis Tormach mills tested two different CAM programs. Program A generated code that ran 18 minutes per part. Program B’s optimized toolpaths (trochoidal milling, adaptive clearing) ran 11 minutes – a 39% cycle time reduction. The faster program cost $400 more upfront but paid back in two weeks of production.
05Most Frequent CAM Problems and How to Solve Them
Even with good CAM software, users encounter these issues. Here are the fixes.
Problem: G-code causes machine to move in wrong direction or crash
Cause: Incorrect post-processor or wrong work offset definition.
Fix: Run simulation with machine visualization. Check that X+, Y+, Z+ directions match your machine. Test with a plastic block first.
Problem: Tool leaves thin walls or breaks in corners
Cause: Tool deflection or excessive radial engagement.
Fix: Use a CAM program with “corner slowdown” or “adaptive clearing” that reduces feed rate in sharp inside corners.
Problem: Cycle time is too long
Cause: Too many air cuts (tool moving through empty space) or overly conservative feeds.
Fix: Use “rest machining” to cut only remaining material. Increase stepover and feed rate based on tool manufacturer’s data.
Problem: Surface finish is rough
Cause: Stepover too large, or tool is climbing instead of conventional milling.
Fix: Reduce finishing stepover to 5-10% of tool diameter. Check climb/conventional direction.
Problem: Post-processor adds or removes needed codes
Cause: Generic post-processor that doesn’t match your controller.
Fix: Request a custom post from the CAM vendor or edit using their post editor. Never use a “generic Fanuc” post for a non-Fanuc machine.
06Actionable Recommendations Based on Your CNC Machine
Choose your CAM program type based on what you run most often.
If you have a 3-axis benchtop CNC (e.g., Tormach, Haas Mini Mill, or Chinese 6040):
Start with a 2.5-axis CAM program that includes adaptive clearing and a built-in post for Mach3 or GRBL. Expect to pay $1,000–$2,500. Avoid high-end 5-axis packages – they add complexity without benefit.
If you have a 3-axis production VMC (e.g., Haas VF series, Brother Speedio, Doosan):
Get full 3-axis CAM with rest machining, high-speed toolpaths, and a verified post for your exact controller (Haas, Fanuc, Siemens). Budget $4,000–$10,000 for a perpetual license.
If you have a 4-axis or 5-axis machine:
You need simultaneous 4/5-axis CAM with collision checking against the machine’s kinematics. Test the post-processor on a sample 5-axis part before buying. Expect $8,000–$20,000.
If you run a lathe or mill-turn:
Dedicated turning CAM is different from milling CAM. Look for features like synchronizing turrets, live tooling, and Y-axis support. Don’t try to use a milling-only CAM for turning – you will waste days programming.
07Final Verdict: Do You Need to Upgrade Your Current CAM Program?
You should consider a new CAM program if:
Your current software cannot generate toolpaths for new part geometries (e.g., you bought a 4th axis but CAM does not support it).
Post-processor errors cause frequent crashes or scrap parts.
Cycle times are 20% longer than industry benchmarks for similar parts.
You spend more than 30 minutes manually editing G-code after posting.
You can keep your current CAM program if:
It reliably produces correct G-code for your machine.
You are hitting your production targets without crashes or rework.
Your parts are simple (2.5-axis) and will not change.
Core takeaway: The right CAM program for your CNC machine is the one that matches your machine type, includes a verified post-processor, and has toolpath strategies you will actually use – not the most expensive or most feature-packed option.
Action step: Download a trial version of two CAM programs that fit your machine. Run the same sample part through both. Time the programming, simulation, and cycle time. Choose the one that produces safe, efficient G-code with the least manual editing. Then commit to learning it fully – switching CAM programs frequently costs more in lost time than any license fee.