When upgrading your vehicle with custom car parts, the difference between a successful build and a costly mistake comes down to three things: perfect fitment, verified material quality, and transparent total costs. This guide gives you the exact steps to select, verify, and install custom components that work reliably—without relying on brand names or guesswork.
01What “Custom Car Parts” Really Means for Your Build
Custom car parts are components manufactured to non-standard specifications, designed to replace original equipment or add new functionality. Unlike mass-produced parts, custom pieces require careful matching to your vehicle’s exact year, model, engine code, and sometimes even production month.
Example from real-world experience: A driver wanted to increase turbocharger response on a 2015 four-cylinder sedan. He ordered “custom fit” aluminum intercooler piping online. When the parts arrived,the mounting brackets were 15mm off, and the sensor bungs were in the wrong orientation. The result: three weekends of cutting and re-welding, plus $200 in unexpected fabrication fees. This is avoidable.
02Step 1: Determine the Exact Specifications You Need
Before shopping, write down these three mandatory data points:
Vehicle Identification Number (VIN) – digits 4-8 indicate engine, transmission, and restraint system variants.
OEM part number of the component you are replacing or modifying. This is the only reliable reference.
Critical dimensions – bolt spacing, thread pitch, diameter, thickness, or volume (e.g., for intercoolers or oil pans).
Why this matters: More than 60% of “does not fit” returns happen because buyers relied on “fits [model]” claims instead of checking hard numbers. No supplier can guarantee fitment without these three inputs.
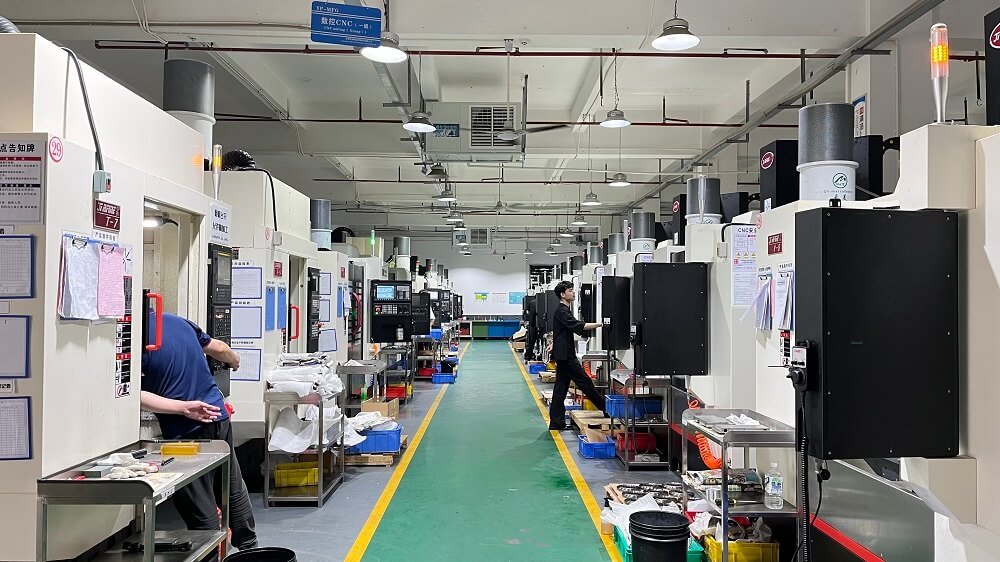
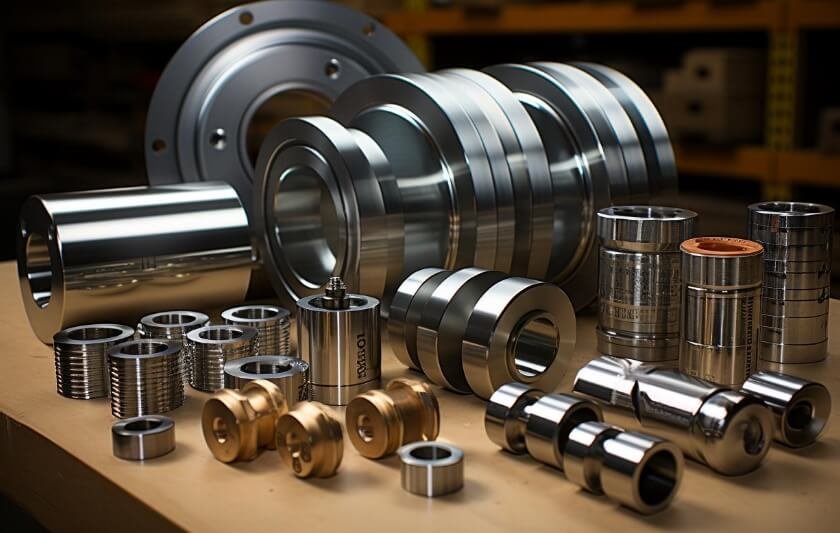
03Step 2: Verify Material and Manufacturing Standards
Custom parts are only as strong as their weakest manufacturing step. Use these four checks:

Case in point: A builder ordered custom tubular control arms for a track car. The seller claimed “DOM steel tubing.” After installation, the left arm bent during hard cornering. A lab test revealed the material was standard electrical conduit (0.065” wall, not 0.120” DOM). The supplier refused a refund because “custom parts are final sale.” This could have been avoided by asking for material certs before payment.
04Step 3: Validate Supplier Reliability Without Brand Names
Since you cannot rely on brand reputation alone, use these three objective filters:
1. Return and defect policy – Legitimate custom part fabricators offer a written policy covering:
Dimensional errors (their fault: full refund or remake within 14 days)
Material defects (replacement at no cost)
Fitment guarantee when you provided correct VIN and OEM numbers
2. Communication trace – Before ordering, send a technical question (e.g., “What is the thread pitch on your replacement banjo bolt for a 2016 2.0L?”). Reliable suppliers answer with specific numbers within 24 hours. Vague answers (“it should be standard”) predict problems.
3. Third-party verification – Look for independent testing seals (e.g., SAE J429 for fasteners, ISO 9001 for manufacturing processes). Avoid sellers who say “we test everything in-house” but provide no external audits.
05Step 4: Calculate True Total Cost
The lowest-priced custom part often becomes the most expensive. Use this formula:
Total Cost = Part Price + (Shipping + Customs/Brokerage) + (Modification/Fabrication Cost if fitment is off) + (Downtime Cost per day × number of days delayed)
Real example: Two quotes for a custom stainless steel exhaust manifold:
Option A: $320 part, $50 shipping, no return policy. Estimated modification cost if ports misalign: $180. Downtime risk: 5 days at $100/day (lost use of vehicle). Total potential = $320+50+180+500 = $1,050.
Option B: $480 part, $60 shipping, 14-day fitment guarantee. Modification cost: $0 (they remake free). Downtime: 0 days (they provide exchange before return). Total = $540.
Option B is 49% cheaper in real terms despite higher upfront price.
06Step 5: Document Everything Before Installation
Once you receive custom parts, follow this checklist before bolting them on:
[ ] Compare all dimensions against your order sheet using calipers or a ruler.
[ ] Test-fit mating surfaces without force (e.g., place the part against the OEM mounting points). If it does not align without pushing, stop.
[ ] Take dated photos of the part, packaging, and any visible defects.
[ ] Dry-assemble any threaded connections (bolts should turn freely for at least three full rotations).
If any check fails, contact the supplier immediately. Most will accept a return within 7 days if you have proof and have not modified the part.
07Common Mistakes That Void Fitment and Safety
Avoid these frequent errors:
Assuming “universal” means “fits my car” – Universal parts almost always require custom brackets, drilling, or welding. Budget an extra 2–4 hours of shop labor.
Skipping the torque spec check – Custom fasteners (e.g., ARP-style studs) have different yield strengths than OEM. Using factory torque values can strip threads or leave joints loose. Always request the manufacturer’s torque chart.
Ignoring thermal expansion – Aluminum parts expand twice as much as steel. For a custom intake manifold bolted to a cast iron head, the manufacturer must specify room-temperature clearance (typically 0.006–0.010” per foot).
Buying “one-off” parts without a paper trail – No invoice, no spec sheet, no warranty. If the seller cannot provide a written document, you have no recourse.
08Action Plan: Your 5-Step Success Path
To get the right custom car parts on your first attempt, follow this exact sequence:
1. Record your VIN and OEM part numbers – Keep them in your phone’s notes.
2. Write down every critical dimension – Use a caliper or borrow one from an auto parts store loaner program.
3. Ask suppliers three questions (material cert, fitment guarantee, return policy) before sharing payment info.
4. Order with a credit card – This gives you dispute rights if the part is not as described (check your card’s purchase protection terms).
5. Test-fit immediately upon delivery – Do not wait more than 48 hours.
09Repeating the Core Truth
Choosing custom car parts is not about finding the cheapest or flashiest option. It is about verifiable fitment, documented material quality, and a supplier willing to guarantee their work in writing. Every dollar saved upfront by skipping these steps will be paid later in fabrication bills, downtime, or failed parts.
10Final Recommendation
Before you order any custom component, print this guide and check off each step. If a seller refuses to provide a material certificate, dimensional drawing, or written fitment guarantee, walk away. There are always other fabricators who will meet these basic standards. Your vehicle’s reliability—and your safety—depend on that discipline.