Custom CNC engraving on brass parts allows you to add logos, serial numbers, text, or decorative patterns with micron-level accuracy. Whether you need one prototype or a production run, understanding the process, material considerations, and design requirements ensures you get high-quality, durable engravings.
This guide covers everything you need to know about custom CNC engraving brass parts—from material grades and tool selection to file preparation and quality verification.
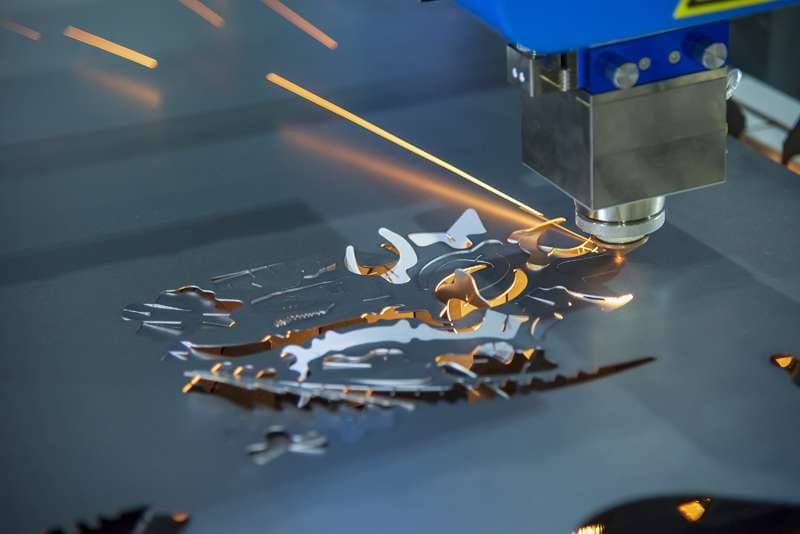
01Why CNC Engraving is Ideal for Brass
Brass is an alloy of copper and zinc, known for its machinability, corrosion resistance, and aesthetic appeal. CNC engraving on brass offers:
High precision: Achieve details as fine as 0.1 mm line width.
Repeatability: Identical results across hundreds or thousands of parts.
No surface damage: Unlike laser engraving, CNC cutting produces clean edges without heat-affected zones.
Depth control: Engrave from 0.05 mm (light marking) to 0.5 mm or deeper for tactile effects.
02Key Brass Grades for CNC Engraving
Not all brass alloys behave the same under a CNC cutter. For optimal engraving results, use these common grades:
Recommendation: For most custom engraving jobs, C36000 provides the best chip evacuation and surface finish.
03Step-by-Step Process for Custom CNC Engraving Brass Parts
1. Prepare Your Vector Artwork
Your engraving design must be in vector format. Acceptable file types:
.dxf (most common for CNC)
.ai (Adobe Illustrator, outline mode)
.eps (encapsulated PostScript)
.svg (scalable vector graphics)
Critical requirements:
Convert all text to outlines (paths)
Minimum line thickness: 0.15 mm (0.006 inch) for standard cutters
Remove overlapping paths and duplicate lines
Set your design to true black (100% K) for clear contrast
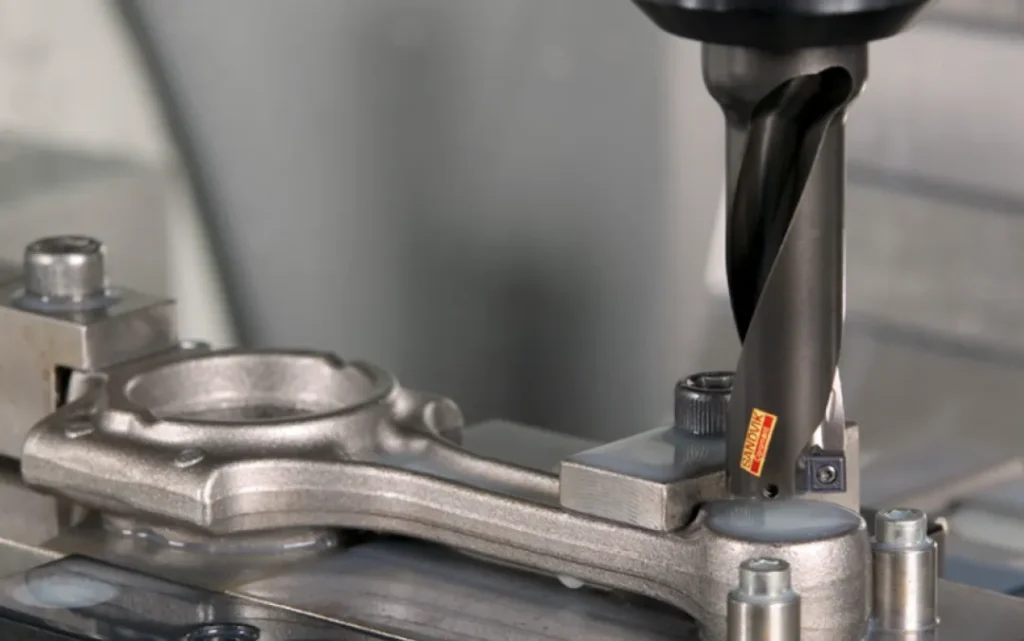
2. Select the Right Engraving Tool
For brass, carbide micro end mills or dedicated engraving bits are essential:
Key tip: Use coolant (mist or flood) when engraving deeper than 0.2 mm to prevent brass from galling and tool breakage.
3. Machine Setup and Workholding
Secure the brass part rigidly to prevent vibration:
For flat parts: Use a machinist vise or vacuum table with a sacrificial layer.
For irregular shapes: Create a custom soft jaw or use double-sided tape (only for light engraving <0.1 mm depth).
For thin brass sheets (<1.5 mm): Bond to a flat aluminum backer plate with cyanoacrylate adhesive.
Zeroing procedure: Set your Z-axis zero to the highest point of the brass surface. For multi-part batches, use a fixed probe to maintain consistency.
4. Generate Toolpath and Run Simulation
Use CAM software (Fusion 360, VCarve, or Mastercam) with these parameters:
Spindle speed: 12,000–18,000 RPM (lower for V-bits, higher for fine details)
Plunge rate: 100–200 mm/min
Stepover: 10–20% of tool diameter for flat areas
Engraving strategy: “Single pass” for depths ≤0.15 mm; “Multi-pass” for deeper cuts
Always simulate first to detect collisions, overcuts, or missed features.
5. Run the Engraving Job
Before cutting your final brass part,test on a scrap piece of the same brass grade. Verify:
Lettering is sharp without burrs
Corners are clean (no rounding from excessive stepover)
Depth matches your specification (measure with a depth gauge or optical comparator)
For production runs, inspect the first part thoroughly, then check every 10–20 parts for tool wear.
6. Post-Processing and Finishing
After engraving, remove burrs and improve appearance:
Important: Never sandblast engraved brass—it rounds sharp edges and removes fine details.
04Common Issues and How to Avoid Them
05Design Best Practices for Custom Brass Engraving
To ensure your engraved brass parts look professional and last for years:
Minimum text height: 1.5 mm for sans-serif fonts; 2 mm for serif fonts
Avoid “islands” (small detached features less than 0.2 mm wide)—they will break off
Use sans-serif fonts (Arial, Helvetica, Futura) for readability in small sizes
Leave 1 mm margin from part edges to prevent cutter overhang
Specify engraving depth in your drawing: “E0.15” means 0.15 mm deep
06Quality Verification Before Acceptance
When you receive custom CNC engraved brass parts, check these three things:
1. Visual inspection under 5× magnification – Look for missing chips, ragged edges, or uneven bottom.
2. Depth measurement – Use a dial indicator or non-contact profilometer. Tolerance should be ±0.025 mm.
3. Adhesion test (if painting or filling engraving) – Apply tape over the engraving; no paint should pull out.
07Cost Factors for Custom CNC Engraving Brass Parts
Understanding pricing helps you plan your project:
Real-world example: A customer needed 100 brass nameplates (50×30 mm) with 2 mm tall serial numbers and a 0.15 mm deep logo. Using C36000 brass and a 30° V-bit, the per-part cost was $4.20 including material and finishing. For 500 parts, the cost dropped to $2.15 each.
08Frequently Asked Questions
Can I engrave brass that is already plated (e.g., nickel or chrome)?
Yes, but the engraving will cut through the plating, exposing raw brass. For a uniform look, engrave before plating or specify “engrave after plating” (requires sharper tools and slower feeds).
How durable is CNC engraving on brass?
Extremely durable. Engraved text or patterns will last the life of the part, even under abrasion or outdoor exposure. Brass naturally forms a protective patina, but the engraved recesses remain legible.
What is the maximum engraving depth for brass?
With a carbide end mill, you can engrave up to 1.5 mm deep. However, depths beyond 0.5 mm require multiple passes and may weaken thin-walled parts. For most applications, 0.15–0.3 mm is ideal.
Can you engrave curved or cylindrical brass parts?
Yes, using a 4th axis (rotary) attachment. The CAM software wraps your 2D vector around the cylinder. Minimum recommended diameter is 6 mm.
Is CNC or laser engraving better for brass?
CNC is superior for brass because brass reflects CO₂ laser light and requires fiber lasers (expensive). CNC produces deeper, more durable marks without discoloration. Choose laser only for very fine surface marking (<0.05 mm depth) on flat, thin brass.
09Actionable Next Steps
To get your custom CNC engraved brass parts made correctly the first time:
1. Finalize your design – Export as clean .dxf or .ai with all text outlined.
2. Choose your brass grade – Use C36000 for general purposes; C26000 for deep engraving.
3. Define your specifications – Depth, finish (as-engraved, brushed, polished), and quantity.
4. Request a test cut – Most CNC shops offer a sample part for $30–50 before production.
5. Inspect using the checklist above – Never assume quality; verify each critical dimension.
Key takeaway: Custom CNC engraving on brass parts delivers permanent, high-precision markings when you follow proper tool selection, workholding, and post-processing steps. By applying the design rules and quality checks in this guide, you will achieve professional results whether you run the job yourself or outsource to a machining partner.
For additional technical data on brass machining parameters, refer to the Copper Development Association (CDA) standard TP-124 and ISO 2768-1 general tolerances for engraved features.


