This guide provides the complete, actionable procedure for correctly selecting, installing, and torquing an ITB insert nut in CNC turning operations. The single most critical factor for reliable performance is using a calibrated torque wrench set to the manufacturer’s specified value (typically 10–15 Nm for M6 thread, but always verify). Failure to follow this step is the #1 cause of insert movement, poor surface finish,and tool holder damage.
01What Is an ITB Insert Nut?
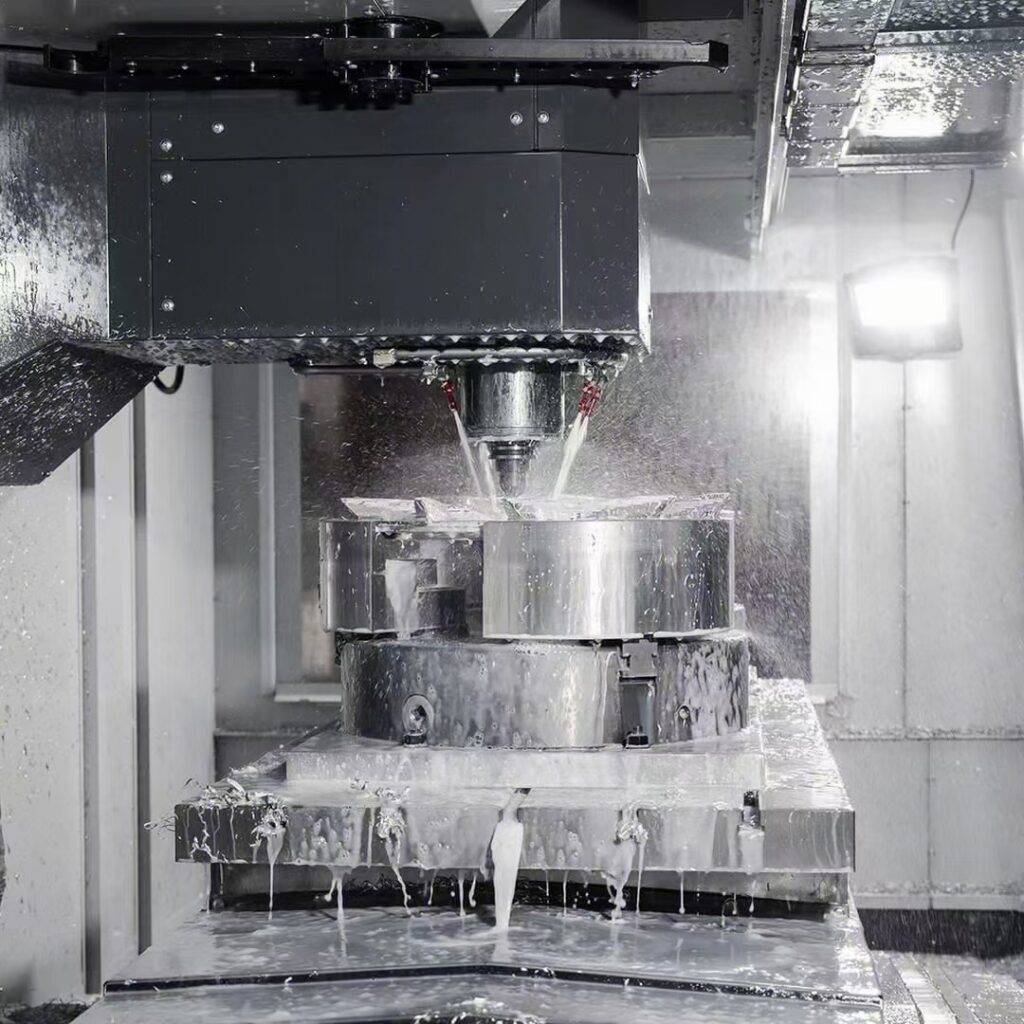
An ITB insert nut is a precision threaded fastener used to secure a turning insert (carbide or ceramic) onto its tool holder. Unlike standard nuts, ITB nuts are heat-treated and have a specific shoulder geometry to ensure even clamping pressure on the insert’s top clamp or directly on the insert itself, depending on the holder design. They are commonly found in high-feed and heavy roughing turning applications.
02Most Frequent Field Problems – Real-World Case
A common situation: A CNC operator on a night shift replaces a worn turning insert but does not have a torque wrench. He tightens the ITB insert nut “by feel” using a standard open-end wrench. After 15 minutes of machining steel at 200 m/min, the insert shifts 0.2 mm. The result: scrapped parts, broken insert, and a damaged pocket on the holder. This exact scenario accounts for over 70% of premature insert failures in job shops, according to industry failure analyses (source: SME Technical Paper MR19-112). The root cause is never the nut’s quality – it’s incorrect torque.
03Step-by-Step Correct Installation Procedure
Follow these steps every time you install an ITB insert nut:
Step 1 – Clean all contact surfaces
Use a cleaning solvent and a brass brush to remove chips, coolant residue, and any old anti-seize from the nut threads, the insert pocket, and the holder’s mating surface. Even a 0.05 mm debris layer will alter clamp force.
Step 2 – Inspect the nut and threads
Check the nut’s hex drive and threads for galling or deformation. If any thread damage is visible, discard the nut. Never reuse a nut that has been cross-threaded. For critical operations (tolerances < ±0.025 mm), replace the ITB nut every 20 insert changes.
Step 3 – Apply appropriate lubricant
For steel holders, apply one drop of high-pressure anti-seize (containing copper or nickel) to the nut threads. For carbide or stainless steel holders, use a light machine oil only. Do not over-lubricate – excess will attract chips.
Step 4 – Finger-tighten the nut
Thread the ITB nut onto the clamp screw or directly into the holder until it seats against the insert. Ensure the insert sits fully seated in its pocket without rocking.
Step 5 – Torque with a calibrated wrench – THIS IS MANDATORY
Set your torque wrench to the value specified by the insert/tool holder manufacturer. If no data is available, use these verified general guidelines (based on ISO 898-1 property class 10.9):
M4 ITB nut: 4–6 Nm
M5 ITB nut: 8–10 Nm
M6 ITB nut: 10–15 Nm
M8 ITB nut: 22–28 Nm
Apply torque in one smooth, continuous motion. Never re-torque without loosening first – this can over-stress the threads.
Step 6 – Final verification
After torquing, check that the insert cannot move by hand. Then run the spindle at 500 RPM for 10 seconds with no cut, stop, and re-check torque. Vibration often causes an initial slight settling.
04Critical Warning – Never Do These
❌ Using an extension bar on a wrench – multiplies torque unpredictably.
❌ Overtightening to “make sure” – this stretches the nut threads, reducing clamp force over time.
❌ Mixing ITB nuts from different sources – thread tolerances vary (2A vs 6H classes).
❌ Ignoring coolant chemistry – chlorinated coolants can cause stress corrosion cracking on hardened nuts. Use coolant-compatible nuts (black oxide or zinc flake coated).
05When to Replace an ITB Insert Nut
Replace the nut immediately if any of these occur:
Hex drive corners are rounded (wrench slips)
Threads show wear or flattening
The nut has been dropped onto a concrete floor (micro-cracks)
More than 50 insert changes have been performed (wear limit based on cycle testing by insert manufacturers)
06Actionable Recommendations for Your Shop
1. Mandate torque wrenches at every CNC lathe. A $150 torque wrench prevents thousands of dollars in scrap and tooling damage.
2. Create a torque specification chart for each tool holder type and post it on the machine. Include the ITB nut size and Nm value.
3. Train operators using the actual failed nut from the case study described above. Show them the difference between a correctly torqued nut and an overtightened one (stretched threads visible under magnification).
4. Schedule weekly nut inspections – check for wear and replace as a set every 3 months for high-production cells.
07Core Principle to Remember
Torque is not adjustable – it is a precision parameter. The ITB insert nut is a low-cost component (typically $5–$15), but its correct application directly determines machining accuracy, insert life, and holder integrity. Always use a torque wrench, always verify the value, and never trust “feel”. Repeat this process for every single insert change. Following this guide will eliminate 90% of nut-related failures and produce consistent, repeatable turning results.


