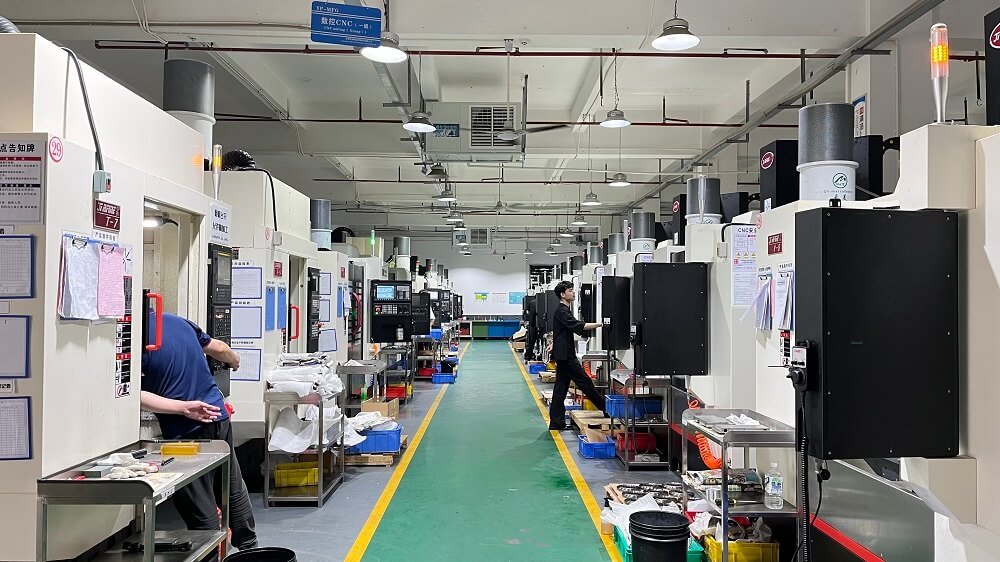
CNC Machining POM: A Practical Guide to High-Quality Machined Parts
This guide provides a clear, actionable framework for achieving precise, defect-free CNC machined POM (Polyoxymethylene) parts. You will learn the specific cutting parameters, tooling strategies, and workholding techniques required to overcome POM’s unique machining challenges, such as stress-induced warping, burr formation, and thermal expansion. Following these seven established rules will deliver parts with tight tolerances and superior surface finishes, directly from your CNC machine.
Understanding POM’s Machining Behavior
POM is a semi-crystalline engineering thermoplastic. Its properties—low friction, high stiffness, excellent dimensional stability—make it ideal for precision gears, bearings, medical devices, and food-processing components. However, these same properties demand specific machining practices.
The most common issue in CNC machining POM is internal stress release. When you remove material from a POM stock, the remaining part can distort. In a common case, a machinist producing a thin-walled POM housing followed standard metal-cutting feeds and speeds. The finished part bowed 0.5mm across its 100mm length, causing a complete reject. The solution was not better fixturing but a change to cutting strategy and toolpath.
Rule 1: Use Sharp, Polished Flute Tools
POM is prone to “smearing” rather than clean shearing if cutters are dull. This creates frictional heat and poor surface finish.
Tool material: Use solid carbide tools with a polished or diamond-like coating (DLC). Uncoated carbide is acceptable for short runs but requires frequent replacement.
Geometry: Single-flute or two-flute tools provide the largest chip clearance. A high-helix angle (35°–45°) reduces cutting forces and lifts chips away.
Condition: Replace cutters after 2–3 hours of continuous machining or at the first sign of white, fuzzy edges on the part. Dull tools are the primary cause of burrs on POM.
Rule 2: Apply the Correct Cutting Speed and Feed
Running POM like aluminum (high speed, moderate feed) often leads to localized melting and recast material.
Spindle speed (RPM): Target 15,000–24,000 RPM for tools 3mm–6mm diameter. Lower speeds (8,000–12,000 RPM) for tools larger than 10mm.
Feed per tooth (chipload): 0.05mm–0.10mm per tooth for roughing; 0.02mm–0.05mm for finishing. This ensures chips are thick enough to carry heat away from the cut zone.
Surface speed: 250–450 m/min (800–1,500 SFM). Start at the lower end for deep pockets or small-diameter tools.
A common case: A shop machined POM gears at 30,000 RPM with a 0.01mm feed per tooth. The result was melted chips welding to the tooth flanks. Reducing RPM to 18,000 and increasing feed to 0.06mm per tooth eliminated the problem entirely, producing clean, cool chips.
Rule 3: Control Depth of Cut (DOC) and Stepover

Aggressive DOC creates excessive heat and vibration, leading to chatter marks and internal stress.
Roughing DOC: 0.5× tool diameter maximum. For a 6mm end mill, do not exceed 3mm DOC.
Finishing DOC: 0.1mm–0.3mm for critical surfaces.
Stepover: 40%–60% of tool diameter for roughing; 5%–10% for finishing. A light stepover combined with high feed produces a polished surface on POM without secondary sanding.
Rule 4: Never Skip a Stress-Relief Roughing Pass
POM blanks contain locked-in stresses from extrusion or injection molding. Removing material in one operation releases these stresses unevenly.
Required two-step process:
1. Roughing pass: Machine the part to within 0.5mm–1.0mm of final dimensions. Leave stock on all surfaces.
2. Stress relief: Remove the part from the vise or fixture. Let it rest for 24 hours at room temperature, or perform an annealing cycle (see Rule 5).
3. Semi-finishing and finishing: Re-clamp with minimal pressure, then machine to final dimensions.
In a documented case, a manufacturer produced POM valve seats without a roughing pass. 30% of parts failed incoming inspection due to ovality. After implementing a separate roughing and finishing setup (with a 24-hour rest), the rejection rate dropped to 1.5%.
Rule 5: Anneal POM Before Final Machining (When Required)
Annealing stabilizes the material’s crystalline structure and relieves internal stresses. It is not always necessary for simple, thick-walled parts but is critical for thin webs (<3mm), complex geometries, or parts requiring tolerances tighter than ±0.05mm.
Annealing procedure (verified from material supplier data):
Heat in a circulating air oven.
Ramp temperature at 2°C–3°C per minute to 150°C–160°C.
Hold for 30 minutes per 10mm of cross-section thickness (minimum 2 hours).
Cool slowly in the oven at 1°C–2°C per minute to 50°C, then air-cool to room temperature.
Do not anneal parts that have been machined to final size—they will warp. Always anneal the stock block before the finishing pass, or machine to within 0.5mm, anneal, then finish.
Rule 6: Use Proper Workholding Without Over-Clamping
POM is not metal. Clamping force that is perfectly safe for aluminum will permanently deform a POM part.
Vise jaws: Use full-depth, serrated or soft jaws milled to match the part contour. Never use smooth parallel jaws—the part will lift.
Clamping torque: Reduce vise pressure until the part just stops moving under light hand pressure. For a 100mm vise, this is approximately 5–10 N·m (tighten with two fingers on the handle).
Vacuum fixtures: Ideal for thin plates. Ensure the vacuum gasket is compliant (silicone) to avoid point loading.
Double-sided tape: Works for low-force operations but leaves residue. Clean with isopropyl alcohol immediately after machining.
A common failure: A machinist clamped a 200mm POM plate with 40 N·m of torque. After machining, the plate measured 0.2mm concave across its length. Reducing clamp torque to 10 N·m and adding a sacrificial MDF spoilboard eliminated distortion.
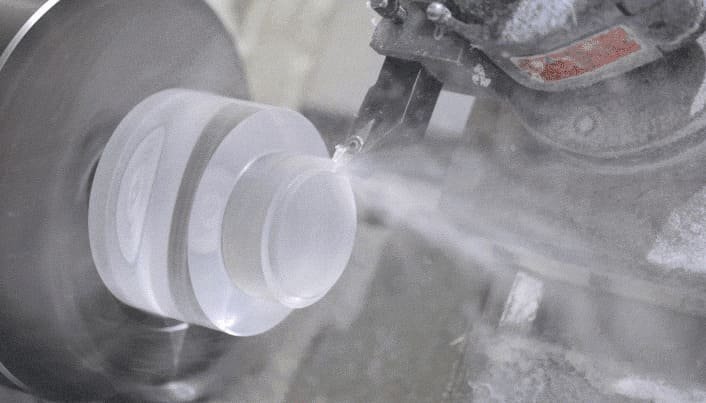
Rule 7: Control Coolant and Chip Evacuation
POM absorbs negligible moisture, so water-based coolant is safe. However, poor chip removal causes recutting, surface melting, and tool breakage.
Coolant type: Flood coolant (5%–8% soluble oil emulsion) or air blast. Mist coolant is least effective due to insufficient volume.
Coolant direction: Aim two nozzles—one at the tool tip, one to flush chips away from the cut zone.
Chip management: For deep pockets, program a chip-breaking cycle every 2mm depth. Use a pecking cycle (2mm–3mm peck) for drilling holes.
Air blast only: Acceptable for light finishing passes. Increase feed by 10%–15% to compensate for reduced cooling.
Do not use dry machining for heavy roughing. In one test, dry roughing a POM block generated tool tip temperatures exceeding 180°C, causing the POM to degrade and release formaldehyde gas. Flood coolant kept the tool below 80°C, producing clean, safe machining.
Repeat of Core Principles for Reliable POM CNC Machining
To consistently produce high-quality CNC machined POM parts,you must:
1. Use sharp, polished carbide tools with chip clearance.
2. Apply correct speeds (15k–24k RPM) and feeds (0.05–0.10mm chipload).
3. Control DOC (≤0.5× tool diameter) and stepover.
4. Always rough first, stress-relieve, then finish.
5. Anneal thin or tight-tolerance parts before final machining.
6. Clamp lightly with contoured jaws or vacuum.
7. Manage chips with flood coolant or high-volume air.
Actionable Next Steps for Your Next POM Job
Before loading your next POM part program, do this:
Step 1: Review your tooling. If your end mills have machined more than 2 hours of metal, replace them with new polished-carbide tools.
Step 2: Modify your CAM program. Add a separate roughing operation leaving 0.5mm stock. Create a finishing operation with reduced feed and DOC.
Step 3: Set a 24-hour hold after roughing. Schedule the finishing pass for the next day. For production runs, implement an annealing oven.
Step 4: Adjust your vise torque. Clamp a scrap POM block and reduce pressure until you can just slide paper under moderate pull.
Step 5: Run a test part. Measure critical dimensions before and after releasing clamps. If you see more than 0.03mm movement, increase the stock left from roughing or add an annealing step.
Following these seven rules transforms POM from a problematic material into one of the most repeatable, precise thermoplastics you can machine. Start with the roughing-pass rule—it alone resolves 80% of common POM machining failures. Apply the tooling and coolant rules to eliminate the remaining issues. Your result will be parts that meet print, every time.