Tolerance refers to the permissible deviation range for geometric parameters (dimensions, geometric errors, surface roughness, etc.) of parts during manufacturing. Tolerance values reflect dimensional manufacturing precision, smaller tolerance values indicate higher precision and greater manufacturing difficulty.
Tolerances play a crucial role in manufacturing. Appropriate tolerances enhance product performance and reliability, reduce failure rates, and ensure proper part fit and functionality. Wider tolerance ranges imply lower manufacturing precision requirements, thereby reducing production complexity and costs. Selecting suitable tolerance ranges while maintaining product quality and performance helps lower manufacturing expenses.

Tolerances for part geometric parameters include dimensional tolerances, form tolerances, and positional tolerances.
1. Dimensional Tolerance
Refers to the permissible variation in dimensions, equal to the absolute value of the algebraic difference between the maximum and minimum limit dimensions.
2. Form Tolerance
Refers to the total permissible variation in the shape of a single actual element, encompassing six aspects: straightness, flatness, roundness, cylindricity, profile of a line, and profile of a surface.
3. Position Tolerance
Refers to the total permissible variation of the position of a related actual feature relative to a reference. It restricts the mutual positional relationship between two or more points, lines, or surfaces of a part, encompassing eight items: parallelism, perpendicularity, inclination, coaxiality, symmetry, position, circular runout, and total runout. Tolerances express the manufacturing precision requirements of a part and reflect its machining difficulty.
Geometric tolerances encompass both form and positional tolerances. These tolerances impact the functionality of mechanical products. When selecting them during design, adhere to the following principles:
01 Select core tolerances based on part type
For bearing support bores with multiple high-precision pairs, prioritize flatness of reference surfaces and support surfaces. For housing-type parts, primary surfaces include reference surfaces and support surfaces. Flat parts may select flatness. Narrow, elongated planes may select straightness. For slotted parts, select symmetry. For shaft components mounting transmission gears or rolling bearings, choose end face runout (or perpendicularity) relative to the support journal centerline. For shaft and sleeve parts, the primary geometric tolerances are roundness and cylindricity of cylindrical surfaces. Different geometric features of parts generate distinct geometric errors.
02 Geometric tolerance selection must satisfy functional requirements
Including fit characteristics, working precision, assembly interchangeability, and motion balance. To ensure smooth assembly of bolt holes on housings, end covers, and similar components, positional tolerances for hole groups should be specified.
03 Form tolerance represents the total permissible variation of a single actual element’s shape
Position tolerance denotes the total permissible variation of the direction or position of related actual elements relative to a reference. The ideal boundary of related elements controls their actual position and orientation. Position error is the combined effect of actual position and actual shape—meaning measured position errors inherently include shape errors. When determining form and position tolerances, once position tolerances are specified, form tolerances need not be additionally required. In many cases, position tolerances alone can control form errors. It suffices to control the corresponding form tolerances and meet usage requirements. If form tolerances must be specified, their values should typically be smaller than position tolerances.
04 Relationship Between Dimensional Tolerances and Geometric Tolerances
Certain dimensional tolerances can control geometric errors, eliminating the need for geometric tolerancing requirements. When dimensional tolerances follow the principle of containment, the actual element must not exceed the ideal cylindrical surface with the maximum solid diameter. This allows control of cylindricity and axial coaxiality. Dimensional tolerances can also control positional tolerances. When positional tolerances within a part’s structure can be controlled by the tolerances of locating dimensions, positional tolerances need not be specified. If further control of positional tolerances is required, their values should be smaller than the dimensional tolerances.
05 For cylindrical parts of general precision, cylindricity should be avoided whenever possible
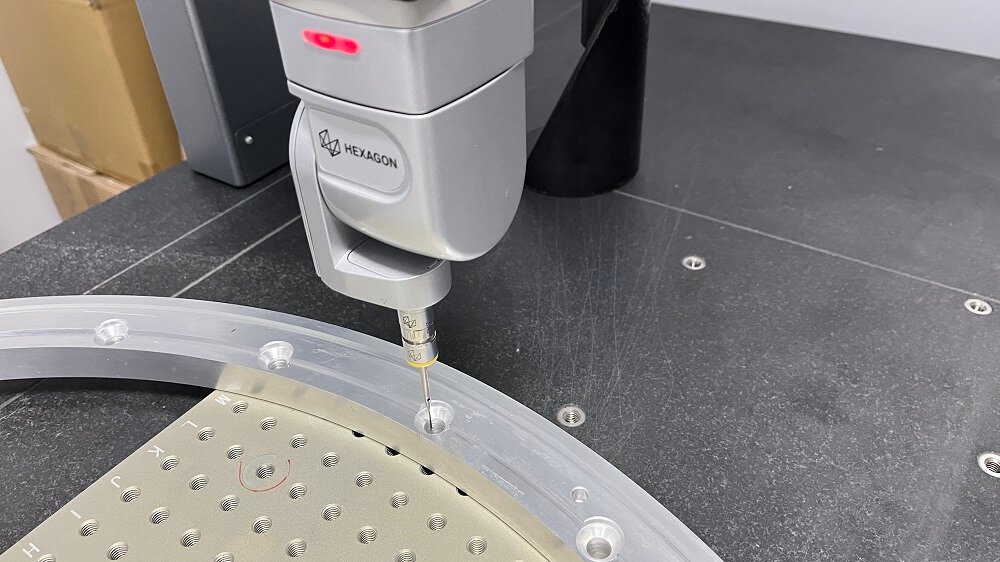
When determining geometric dimensioning and tolerancing (GD&T) features, prioritize ease of inspection and cost-effectiveness. In such cases, roundness and parallelism of the generatrix of the cylindrical surface may be used as substitutes.
In summary, the principle for selecting geometric tolerance values is to choose the lowest possible tolerance grade while meeting the functional requirements of the part. Determining geometric tolerance values must also consider factors such as cost-effectiveness and inspection conditions, always prioritizing the fulfillment of the part’s functional requirements.
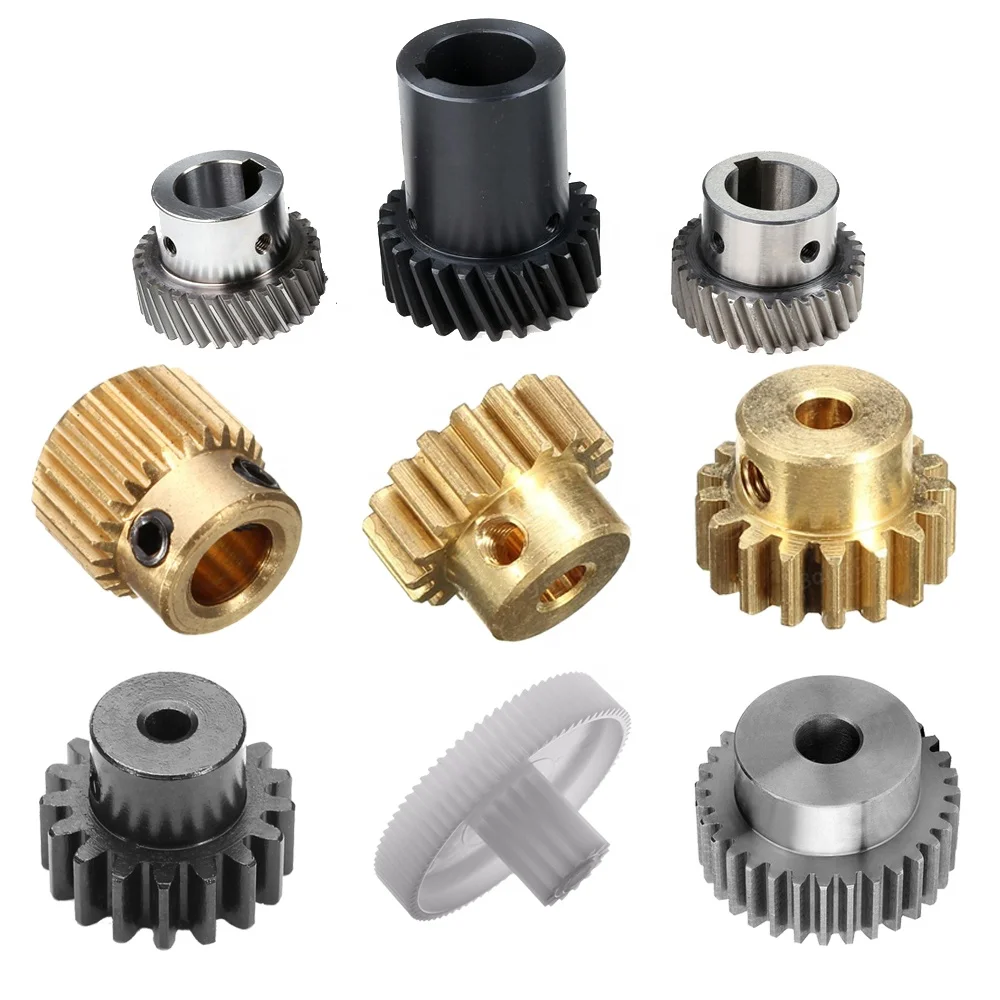
When selecting coaxiality, symmetry, and runout tolerances, IT5, IT6, and IT7 are widely applied tolerance grades for components requiring higher geometric accuracy and dimensional tolerance grades of IT8 or higher. IT5 is commonly used for machine tool journal shafts, high-precision rolling bearing outer rings, standard-precision rolling bearing inner rings, and face runout of rotary tables. IT7 is applied to internal combustion engine crankshafts, camshafts, gear shafts, water pump shafts, automotive rear output shafts, and electric rotors.
General Principles for Tolerance Design of Non-Standard Parts
01 Design tolerances for critical features
To save machining time and costs, apply tolerances only to critical features—such as those involved in fits or interferences with other parts or assemblies.
02 Avoid excessively tight tolerances
Strict tolerances often lead to higher rates of nonconforming parts, requiring additional measuring tools or fixtures, and longer delivery cycles—all of which increase machining costs.
03 Consider Material Properties
Material characteristics significantly influence machinability for specific tolerances. For instance, materials may bend during processing, and softer materials present greater challenges in maintaining precise tolerances.
04 Common Tolerance Grade Reference
IT5, IT6, IT7: Suitable for parts requiring high geometric accuracy with dimensional tolerances of IT8 or higher
IT5: Machine tool journal shafts, high-precision rolling bearing outer rings, rotary table face runout
IT7: Internal combustion engine crankshafts, camshafts, gear shafts, water pump shafts, automotive rear output shafts, electric motor rotors
Through scientific tolerance design, YPMFG Machining delivers high-precision, reliable custom parts while optimizing costs and production efficiency to maximize product value.


