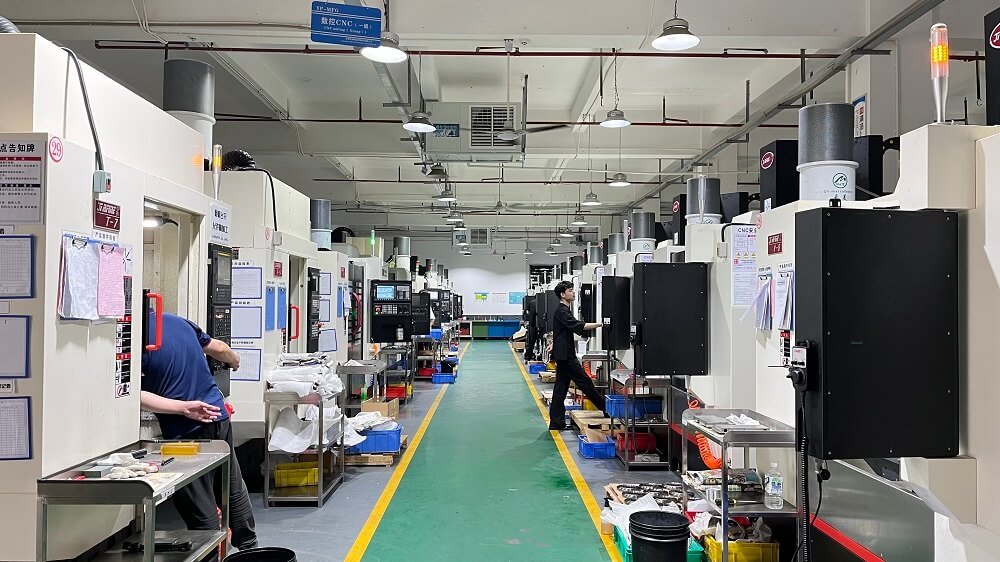
Milling aluminium CNC blocks successfully requires the right combination of tool geometry, cutting parameters, and cooling strategy. Without these, you risk built-up edge, poor surface finish, or even broken end mills. This guide provides proven, actionable steps based on common workshop experience—no brand names, just engineering principles.
1. Choose the Right End Mill for Aluminium
Flute count: 2 or 3 flutes are ideal. They provide large chip clearance and reduce recutting. 4-flute tools tend to clog when milling aluminium.
Material: Solid carbide or high-speed steel (HSS). Carbide allows higher speeds; HSS is more forgiving.
Coating: Uncoated or ZrN (zirconium nitride) – both resist aluminium adhesion. Avoid TiAlN or TiCN, which cause friction welding.
Helix angle: 35°–45° works best. Higher helix improves chip evacuation.
Common case: A workshop milling 6061 blocks with a 3-flute, 10mm carbide end mill at 12,000 RPM and 1,500 mm/min feed rate achieves mirror-like finishes.
2. Optimal Cutting Parameters (Starting Points)
The following values are based on industry standards for typical aluminium alloys (6061, 7075, 5083). Always start 20% lower and increase gradually.

Key formula for feed per tooth (chip load) : For aluminium, target 0.05–0.15 mm/tooth. Example: 3-flute, 10,000 RPM, feed = 10,000 × 3 × 0.08 = 2,400 mm/min (reduce to 1,500 mm/min for rigidity).
3. Cooling and Lubrication – Essential for Aluminium
Aluminium is sticky. Without proper cooling, chips weld to the cutting edge (built-up edge), causing tool failure.
Best option: Flood coolant (water-soluble oil at 5–8% concentration). It washes chips away and lubricates.
Common workshop alternative: Mist system with isopropyl alcohol or dedicated aluminium cutting fluid. Many machinists use a spray bottle of ethanol or WD-40 applied manually every 30 seconds – effective for light cuts.
Air blast alone is insufficient – aluminium will still adhere.
Real-world example: A shop milling 100 mm thick 7075 blocks experienced severe edge build-up until they switched from dry milling to a fine mist of vegetable oil-based lubricant. Surface roughness dropped from Ra 3.2 µm to Ra 0.8 µm.
4. Workholding and Machine Rigidity
Use a vice with parallel bars or a dedicated fixture. Ensure the block does not lift – aluminium’s low modulus means deflection is common.
For thin walls (less than 3 mm), use sacrificial support or low radial engagement (5–10% of tool diameter).
Common mistake: Clamping only one side of a large block. The vibration causes chatter marks. Solution: use toe clamps or a vacuum table for thin blocks.
5. Common Problems and Fixes
6. Step-by-Step Process for a Typical Aluminium Block
Assume you are milling a 150×100×50 mm 6061 block to create a pocket and contour.
1. Secure the block in a vice with soft jaws or parallel bars.
2. Face the top surface with a 50 mm face mill (0.2–0.5 mm depth, 80% stepover).
3. Rough the pocket using a 10 mm 3-flute end mill: 10,000 RPM, 1,500 mm/min, 1.5 mm axial depth, 6 mm radial stepover. Leave 0.2 mm for finishing.
4. Finish the pocket walls with a full-depth pass (1.5 mm radial engagement) at 12,000 RPM, 800 mm/min.
5. Contour the outer shape using a 6 mm end mill, climbing cut (conventional milling causes burrs).
6. Deburr edges with a manual deburring tool or a chamfer mill at 8,000 RPM, 400 mm/min.
7. Core Takeaway – Repeat These Principles
Use sharp, 2 or 3-flute carbide tools designed for aluminium.
Apply adequate cooling – never mill dry on deep cuts.
Start with conservative feeds and speeds (use the table above as a baseline), then increase feed first, then RPM.
Always climb mill for better finish and longer tool life.
Actionable Recommendation
Before milling your final block, run a test on a scrap piece of the same aluminium. Start at 70% of the recommended feed rate. Increase feed by 10% after each pass while monitoring surface finish and tool sound. If you hear squealing or see built-up edge, add more coolant or reduce depth of cut. By following this systematic approach, you will achieve reliable, high-quality results on every aluminium CNC block.