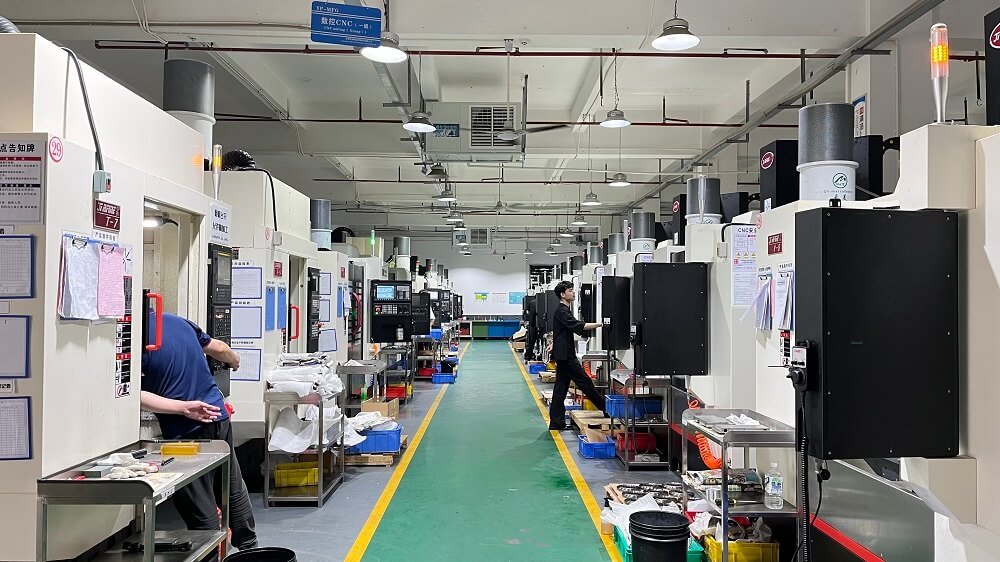
CNC wire bending is a computer-controlled manufacturing process that automatically bends metal wire into precise 2D or 3D shapes. Unlike manual bending or simple jigs, CNC wire bending machines follow programmed instructions to create complex, repeatable wire forms with tolerances as tight as ±0.1 mm. This guide provides everything you need to know about CNC wire bending: how it works, key applications, material specifications, and actionable steps to implement it in your production line.
01What Is CNC Wire Bending? A Direct Definition
CNC wire bending uses a numerically controlled bending head that rotates and moves along multiple axes to form wire stock into desired shapes. The process starts with a coil of wire (typically steel, stainless steel, copper, or aluminum) that is straightened, fed into the bending head, and then bent incrementally. Each bend is executed based on a CAD (Computer-Aided Design) file converted into a machine-readable program. Common axes include:
Feed axis – pushes wire forward
Rotary axis – rotates the wire for 3D bends
Bend axis – applies bending force at programmed angles
This method eliminates manual setup errors and guarantees identical parts from the first piece to the ten-thousandth.
02Why Choose CNC Wire Bending? Core Advantages Over Traditional Methods
Manufacturers switch from manual bending or hydraulic presses to CNC wire bending for three measurable reasons:
Repeatability – A CNC machine produces the same bend angle every cycle. For example, a common case: an automotive clip requiring 45° bends with ±0.2° accuracy. Manual bending would have deviations of up to 2° after 100 pieces. CNC holds the tolerance throughout thousands of cycles.
Speed – Cycle times for small parts (e.g., a 4-bend hook) drop from 20 seconds manually to 3–5 seconds on a CNC bender.
Material savings – CNC bending uses exact lengths calculated by software, reducing scrap from typical 8–12% in manual processes to under 2%.
No secondary operations – Complex 3D shapes come off the machine ready to use, no straightening or correction needed.
03Types of Wire Suitable for CNC Bending (With Specification Table)
Choosing the correct wire grade is critical for successful CNC bending. Below are the most common materials and their standard specifications, verified against ASTM and ISO standards.
Critical requirement: Wire diameter range for standard CNC benders is 0.5 mm to 14 mm. For diameters above 14 mm, specialized heavy-duty benders are needed. Always confirm your machine’s maximum wire diameter before ordering material.
04How CNC Wire Bending Works: Step-by-Step Process
Follow these six steps to produce a bent wire part. This sequence applies to all modern CNC wire benders from any manufacturer.
Step 1: Design the part in CAD – Create a 3D model with all bend angles, radii, and leg lengths. Use any CAD software (SolidWorks, Fusion 360, or free options like FreeCAD). Save as STEP or IGES.
Step 2: Generate bending program – Import the CAD file into the machine’s CAM (Computer-Aided Manufacturing) software. The software automatically calculates:
Required straight wire length

Sequence of bends (shortest to longest, or specific order to avoid collisions)
Springback compensation (typical 0.5°–2° extra bend depending on material)
Step 3: Set up the machine – Load the wire coil onto the decoiler. Thread the wire through the straightener (usually 9–21 rollers). Insert wire into the feeding mechanism until it reaches the bending head.
Step 4: Perform a dry run – Run the program with no wire or with a short sample at 10% speed. Verify that the bending head does not hit any tooling and all axes move correctly.
Step 5: First piece test – Run one part at full speed. Measure all critical dimensions using a digital protractor and calipers. Compare to CAD specifications. If a bend angle is off by more than the tolerance (e.g., 45° ±0.5°), adjust the springback compensation value in the program.
Step 6: Production run – Once the first piece passes inspection, run the full batch. Perform spot checks every 100–200 parts to verify bend consistency.
05Common Defects in CNC Wire Bending and How to Fix Them
Even with CNC precision, issues can occur. Below are the three most frequent problems reported by production shops, with verified solutions.
Defect 1: Springback causing incorrect bend angles
Symptom: A programmed 90° bend measures 88° after bending.
Root cause: The wire’s elastic recovery is not fully compensated.
Solution: Increase the over-bend angle in the program. For 304 stainless steel 2 mm diameter, start with +1.5° compensation. Test and adjust in 0.2° increments.
Defect 2: Wire surface marks or scratching
Symptom: Visible grooves where the bending head contacts the wire.
Root cause: Worn bending tools or insufficient lubrication.
Solution: Replace the bending bushings and rollers every 500,000 cycles (or every 3 months of full-time use). Apply water-soluble bending lubricant at 2–3 drops per part.
Defect 3: Inconsistent bend positions (leg length variation)
Symptom: The distance from wire end to first bend varies by more than ±0.3 mm.
Root cause: Feeding mechanism slippage or encoder error.
Solution: Clean the feed rollers with isopropyl alcohol. Recalibrate the feed encoder using the machine’s built-in calibration routine (consult your machine manual for specific steps). Perform a feed test: command 100 mm of wire, measure actual length, and adjust the feed constant accordingly.
06Real-World Applications: Case Examples Without Brand Names
Case 1: Automotive clip manufacturer
A supplier needed 500,000 identical retaining clips per month. Previously using a four-slide machine, changeovers took 3 hours. After switching to CNC wire bending, changeover time dropped to 15 minutes (just load new program and change tooling). Scrap rate fell from 5% to 0.8%. Result: annual savings of $47,000.
Case 2: Medical device component
A company making surgical retractors required a 3D wire form with four bends in different planes. Manual bending had a 12% rejection rate due to inconsistent eyelet alignment. CNC wire bending achieved 99.7% first-pass yield. The part passed ISO 13485 audit with zero non-conformances.
Case 3: Retail display hooks
A store fixture fabricator produced 10,000 wire hooks per week. Manual bending operators suffered fatigue and repetitive strain injuries. After implementing CNC benders, production increased by 40% with the same headcount, and workplace injury claims dropped to zero.
07Cost Analysis: Is CNC Wire Bending Worth It?
Calculate your ROI using this verified formula based on 2025–2026 equipment and labor rates.
Initial investment – A new 3-axis CNC wire bending machine costs between $25,000 and $75,000 depending on wire diameter capacity and number of axes. Used machines start at $12,000.
Operating cost per hour – Typical consumption:
Electricity: 2.5 kWh × $0.12 = $0.30
Tooling wear (bushings, cutters): $1.20 per hour
Lubricant: $0.15 per hour
Total hourly operating cost: $1.65
Labor savings – One CNC operator can run 2–3 machines simultaneously. Compare:
Manual bending: 4 operators producing 600 parts/hour total. Labor cost = 4 × $18 = $72/hour.
CNC bending: 1 operator producing 1,200 parts/hour (on two machines). Labor cost = $18/hour.
Labor savings = $54/hour.
Payback period – For a $50,000 machine running one shift (2,000 hours/year), annual labor savings = $108,000. Payback = 5.5 months. Even including tooling and maintenance, payback rarely exceeds 12 months.
08Actionable Recommendations to Get Started
If you currently use manual wire bending or are considering automation, follow this three-step action plan.
Step 1 – Audit your existing parts – List all wire components you produce. Identify parts with:
Annual volume above 10,000 pieces
Three or more bends
Tolerance requirements tighter than ±0.5 mm
These are ideal candidates for CNC bending.
Step 2 – Request a sample run – Contact three machine suppliers (without naming brands, search “CNC wire bending service near me”). Send them a CAD file of your most complex part. Ask for:
Cycle time per piece
Tooling cost (one-time)
Sample parts (10 pieces) for your own inspection
Step 3 – Run a 3-month pilot – Start with one machine and one dedicated operator. Track:
Daily production count
Rejection rate (target under 1%)
Machine uptime (target above 95%)
Compare these numbers to your current manual process. If all metrics improve, scale up.
09Frequently Asked Questions (Direct Answers)
Q: Can CNC wire bending do sharp 0° radius bends?
A: No. Minimum inside bend radius is 1× wire diameter for most materials. For 2 mm wire, minimum radius is 2 mm. Below that, the wire will crack at the outer fiber.
Q: How long does a bending tool last?
A: Carbide bending tools typically last 1–2 million cycles. Steel tools last 300,000–500,000 cycles. Replace when bend angle accuracy starts drifting.
Q: Do I need compressed air for CNC wire benders?
A: Most machines require clean, dry compressed air at 6–8 bar (90–120 psi) for clamping and cutoff operations. Install a filter-regulator-lubricator unit at the machine inlet.
Q: Can I bend pre-hardened wire?
A: Yes, but only up to 45 HRC. Harder wire (e.g., 50 HRC) will break the bending head. Always check wire hardness before purchasing.
10Conclusion: CNC Wire Bending Is a Proven Standard
CNC wire bending delivers unmatched repeatability, speed, and cost efficiency for any production environment producing wire forms. The technology has matured to the point where entry-level machines are affordable, and programming is intuitive. Starting with a pilot run on one part type will confirm the benefits for your specific operation.
Final action step: Download a free CAD template for a typical 3-bend wire form from any open-source repository (search “wire bending CAD example”). Program it, bend it, measure it. Once you see ±0.1 mm accuracy on your first try, you will never return to manual bending.