This guide provides a straightforward, actionable overview of CNC machining for aluminum parts. It focuses on best practices, common challenges, and proven solutions to help you achieve high-quality, consistent results. The information is based on widely accepted industry standards and real-world production experience.
01Why CNC Machine Aluminum?
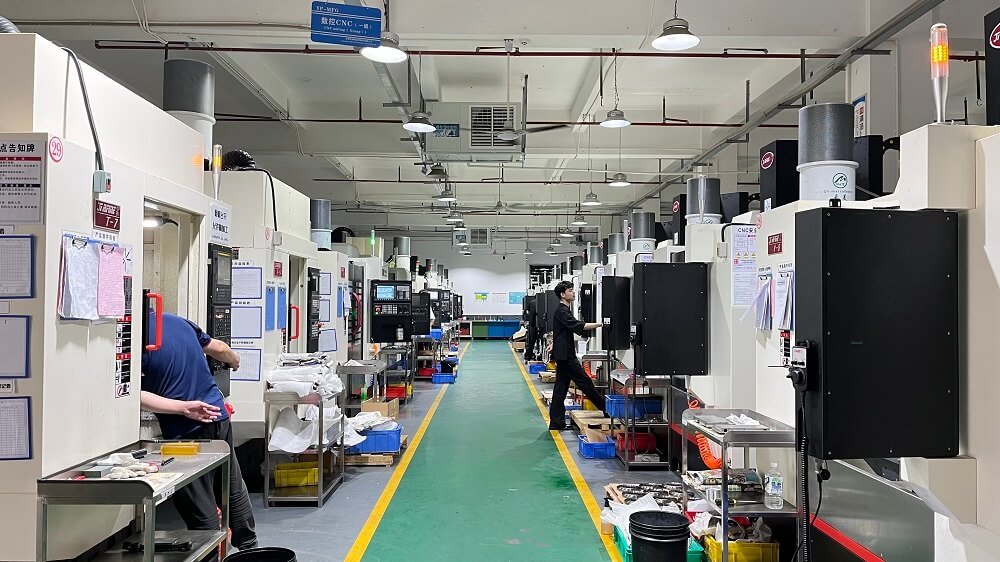
Aluminum is one of the most commonly machined metals because it offers an excellent balance of strength, weight, and machinability. It cuts quickly, generates manageable heat, and allows for tight tolerances. However, successful machining depends on using the right tools, speeds, and workholding strategies. Ignoring these factors leads to poor surface finish, broken tools, and scrapped parts.
02Critical Design and Setup Considerations
Before cutting, review your part design and machine setup. The following points directly impact success.
Wall Thickness and Feature Size
Minimum wall thickness: For most structural parts, keep walls above 0.8 mm (0.03 in). Thinner walls risk vibration (chatter) and deformation.
Deep cavities: Limit cavity depth to 4 times the tool diameter. Deeper cuts require specialized tooling and multiple passes.
Small holes: Use a diameter-to-depth ratio of 1:3 for unguided drilling. For deeper holes, consider peck drilling or gun drilling.
Workholding for Thin or Complex Parts
Use soft jaws or vacuum fixtures for thin plates to avoid distortion.
For irregular shapes, consider custom fixtures or double-sided tape for low-volume runs.
Always support the part as close to the cutting area as possible.
03Choosing the Right Aluminum Alloy
Different alloys machine very differently. Below are the most common grades and their characteristics.
Machinability rating compared to free-cutting brass (100%).
04Recommended Cutting Tools and Parameters
Using correct tool geometry and cutting data is the single most effective way to improve part quality and tool life.
Tool Material and Coating

Carbide tools are standard for aluminum due to their hardness and heat resistance.
Uncoated carbide works well for most jobs.
Zirconium Nitride (ZrN) or Diamond-Like Carbon (DLC) coatings reduce built-up edge on sticky alloys (e.g., 5052,6061 in soft temper).
High-speed steel (HSS) is acceptable for prototypes or very small runs, but wear life is short.
End Mill Geometry
Use 2 or 3 flute end mills for aluminum. More flutes reduce chip clearance.
Helix angle: 35° to 45° for general purpose. A higher helix (45°) improves surface finish on side walls.
Polished or sharp edges prevent material from welding to the tool.
Spindle Speed and Feed Rate (Example for 3/8″ (9.5 mm) Carbide End Mill)
Always start at the lower end of the range for rigid setups. Adjust based on machine stability and tool runout.
Radial and Axial Depth of Cut
Radial engagement: For roughing, use 30% to 50% of tool diameter. For finishing, use less than 5%.
Axial depth: Do not exceed 1.5x tool diameter in a single pass without chip evacuation verification.
05Common Problems and Proven Solutions
Even experienced machinists encounter issues with aluminum. Here are the most frequent problems and how to solve them.
Problem 1: Built-Up Edge (BUE)
Symptoms: Rough surface finish, small aluminum particles welded to tool tip, increasing cutting force.
Solutions:
Increase cutting speed (SFM) by 15-20%.
Use a coated tool (ZrN or DLC).
Apply coolant or mist directly at the cutting zone.
Avoid slow spindle speeds with soft alloys.
Problem 2: Chatter and Vibration
Symptoms: Washboard surface finish on walls, audible noise, poor corner accuracy.
Solutions:
Reduce radial depth of cut.
Increase feed rate to engage more tooth area.
Shorten tool overhang as much as possible.
Use a variable flute end mill.
Problem 3: Poor Hole Quality (Oversize or Tapered)
Symptoms: Drill produces larger hole than expected, or hole is wider at top.
Solutions:
Check drill runout (should be under 0.01 mm / 0.0004 in).
Use a spotting drill before the twist drill.
For deep holes, peck with full retract to clear chips.
Consider carbide drills for high-volume jobs.
Problem 4: Burrs on Edges
Symptoms: Raised sharp edges after machining, requiring secondary deburring.
Solutions:
Use a chamfer mill or corner rounder as a final pass.
For thin walls, climb mill instead of conventional milling.
Reduce depth of cut on final finishing pass to 0.1 mm (0.004 in).
06Quality Inspection for Aluminum Parts
After machining, verify these key attributes.
Always inspect the first part completely before running the full batch.
07Actionable Recommendations to Improve Your Results
To consistently produce high-quality CNC aluminum parts, follow these steps.
1. Start with the right alloy. For general work, use 6061. For higher strength, use 7075. For forming after machining, use 5052.
2. Use sharp, polished carbide tools with 2 or 3 flutes. Replace tools as soon as you see surface finish degrade.
3. Apply proper coolant or mist. Flood coolant is best for production. Mist works for most prototype and short runs.
4. Climb mill whenever possible. This produces a better finish and extends tool life on rigid machines.
5. Always deburr as part of the program. Add a chamfer operation to remove top and bottom edges automatically.
6. Inspect the first piece thoroughly. Check critical dimensions, hole sizes, and surface finish before continuing.
08Summary: Key Points to Remember
Machinability is alloy-specific. Know your material.
Tool geometry and coating directly prevent built-up edge.
Use correct speeds and feeds: faster spindle speeds and moderate feed rates work best for most aluminum.
Solve chatter by reducing radial engagement, not speed.
Always inspect to catch issues before they become scrap.
By applying these proven practices, you will reduce tooling costs, improve surface finishes, and hold tighter tolerances on every aluminum part you machine. For complex or high-volume production, always consult with your tooling supplier and validate parameters on a test piece.