
When running a CNC drill, even small setup errors can break bits, scrap parts, or damage the machine. Many hole problems are not caused by poor equipment, but by incorrect speed, feed, cooling, clamping, or tool condition.
This guide covers the seven most common CNC drilling problems and how to fix them, helping you reduce burrs, hole drift, oversize holes, and tool breakage. At YPMFG, drilling features are also reviewed for hole depth, material, tooling, and coolant method to keep hole position stable and dimensions reliable.
01Ignoring the Correct Feed Rate
Many operators use a “close enough” feed rate. That leads to broken drills or rough holes.
Common case: A shop was drilling 1018 steel with a 6 mm carbide drill. They ran at 0.08 mm/rev (same as for aluminum). Result: drill snapped on the third hole.
Correct practice: For 1018 steel (HB ~180), use 0.05–0.06 mm/rev for a 6 mm drill. For aluminum 6061, use 0.10–0.12 mm/rev. Always check the drill manufacturer’s chip load chart.
02Wrong Spindle Speed
Speed too high burns the drill; too low causes chatter and poor exit burrs.
Standard formula: RPM = (SFM × 3.82) / drill diameter (in inches). For metric: RPM = (SFM × 304.8) / diameter (mm).
High-speed steel (HSS) on mild steel: SFM 60–80
Carbide on steel: SFM 200–350
HSS on aluminum: SFM 250–400
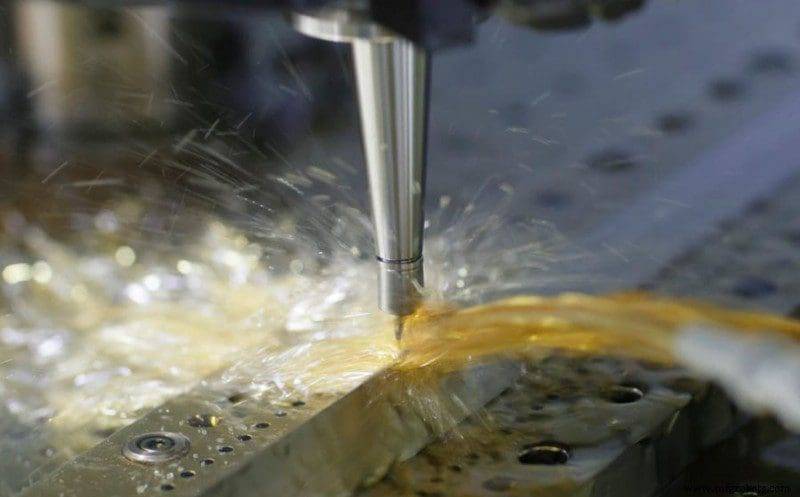
Example: 10 mm HSS drill in mild steel – RPM = (70 × 304.8) / 10 ≈ 2130 RPM.
03No Spot Drilling or Center Drilling
Skipping a spot drill makes the main drill walk off position. Hole location error can exceed 0.2 mm.
Action: Use a 90° or 120° spot drill (120° is better for carbide drills). Spot depth = slightly wider than the final drill’s chisel edge. For a 10 mm drill, spot about 1.5 mm deep.
04Improper Pecking Cycle for Deep Holes
Deep holes (depth > 3× diameter) need pecking to clear chips. Without pecking, chips pack and snap the drill.
Safe peck values (steel, coolant on):
First peck: 1× drill diameter
Subsequent pecks: 0.5× diameter
Retract to R-plane each peck to flush chips
Example: 8 mm drill, 40 mm deep (5×D). Peck cycle: Q8.0 (first), then Q4.0. Full retract every peck.
05Wrong Coolant Direction or Pressure
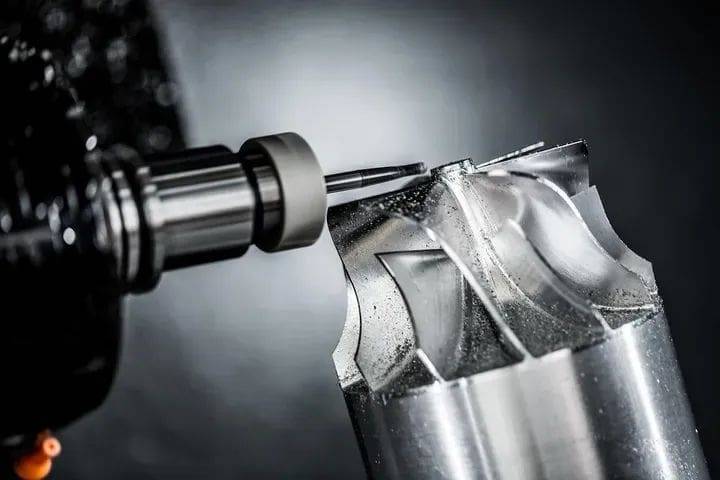
Many machines have fixed nozzles that miss the drill tip. The coolant must hit the cutting edge exactly.
Check: Before cycle start, jog the spindle and manually aim nozzles at the drill point. For through‑spindle coolant (if equipped), use 300–500 psi minimum for deep holes.
06Using Worn or Dull Drills
A dull drill increases thrust force by 200% or more. This causes deflection, oversized holes, and can stall the spindle.
Inspect every 50–200 holes (depending on material). Signs:
Unusual sound (squealing or grinding)
Chips that are powder instead of curls
Hole diameter > 0.05 mm over tolerance
Rule: Replace or regrind immediately. Do not “push through” – it will crash.
07Forgetting to Compensate Tool Length Offset
One of the most common CNC drill errors: after changing a drill,the operator forgets to measure and enter the new tool length offset. The drill then plunges too deep – breaking the tip or damaging the part.
Mandatory workflow:
1. Touch off the new drill on the tool setter or reference surface.
2. Record the measured length (e.g., Z offset = –123.45 mm).
3. Update the offset table before running the program.
4. Run a single‑block test at safe Z clearance first.
Repeat the core point: All seven mistakes are preventable with a standard pre‑drill checklist. The most critical are feed rate, spot drilling, and tool offset verification.
08Your Action Plan for Trouble‑Free CNC Drilling
Before every job, verify spindle speed, feed rate, and peck drilling values with a trusted source, such as a machinery handbook or tooling catalog. Do not enter values only from memory, especially when changing material or drill size.
Before every tool change, write the offset update step on a paper checklist and mark it off after entering it. After the first hole, measure diameter, position, and depth. If anything is off, adjust the offset or program before continuing.
Keep a drilling log for each material, including speeds, feeds, tool life, and common issues. Over time, this log will become more useful than a general reference chart for your own shop. At YPMFG, stable drilling parameters are also recorded to reduce repeated trial and error. Follow these rules, and you can prevent most drilling failures, improve hole accuracy, extend tool life, and avoid unnecessary crashes or scrap.