CNC machining POM (polyoxymethylene) requires a specific set of strategies to achieve clean, accurate, and burr‑free plastic parts. This guide covers the essential parameters, tooling choices, and workholding methods drawn from real‑world shop floors. You will learn how to avoid common failures like melting, warping, or poor surface finish, and you will get a step‑by‑step action plan to produce consistently high‑quality POM components.
01 Why Standard Milling Techniques Often Fail on POM
A typical job shop received an order for 500 thin‑walled POM brackets. Using the same feeds and speeds as for aluminum, the end mill quickly gummed up, the part surface showed white “smearing,” and the edges had stubborn burrs. The cause: POM has a low melting point (≈175°C / 347°F) and a high thermal expansion rate. When heat builds up, the material softens,deforms, or even releases formaldehyde gas. This case is not rare – it happens every day when operators treat POM as “just another plastic.”
02 Core Parameters for Reliable CNC Machining of POM
To make POM behave predictably, lock in these three settings first. They address 90% of failures.
1. Spindle speed – lower than you think
Recommended range: 8,000 – 12,000 RPM for standard end mills (3–6 mm diameter)
Above 15,000 RPM without coolant → rapid heat buildup → melting and chatter
For fine finishing passes: 6,000 – 8,000 RPM keeps the chip load stable
2. Feed rate – moderately aggressive
Chip load: 0.05 – 0.15 mm/tooth (for 2‑flute tools)
Example: 10,000 RPM, 2‑flute end mill → feed = 10,000 × 2 × 0.10 = 2,000 mm/min
Too slow (under 800 mm/min) causes rubbing and frictional heating. Too fast (over 3,000 mm/min) risks part deflection.
3. Depth of cut – shallow and multiple passes
Roughing: axial depth ≤ 1.5 × tool diameter, radial ≤ 40% of tool diameter
Finishing: axial ≤ 0.5 mm, radial ≤ 0.2 mm for burr‑free edges
Full slotting (radial = 100% tool diameter) is allowed only with air blast or mist coolant, and reduce feed by 50%
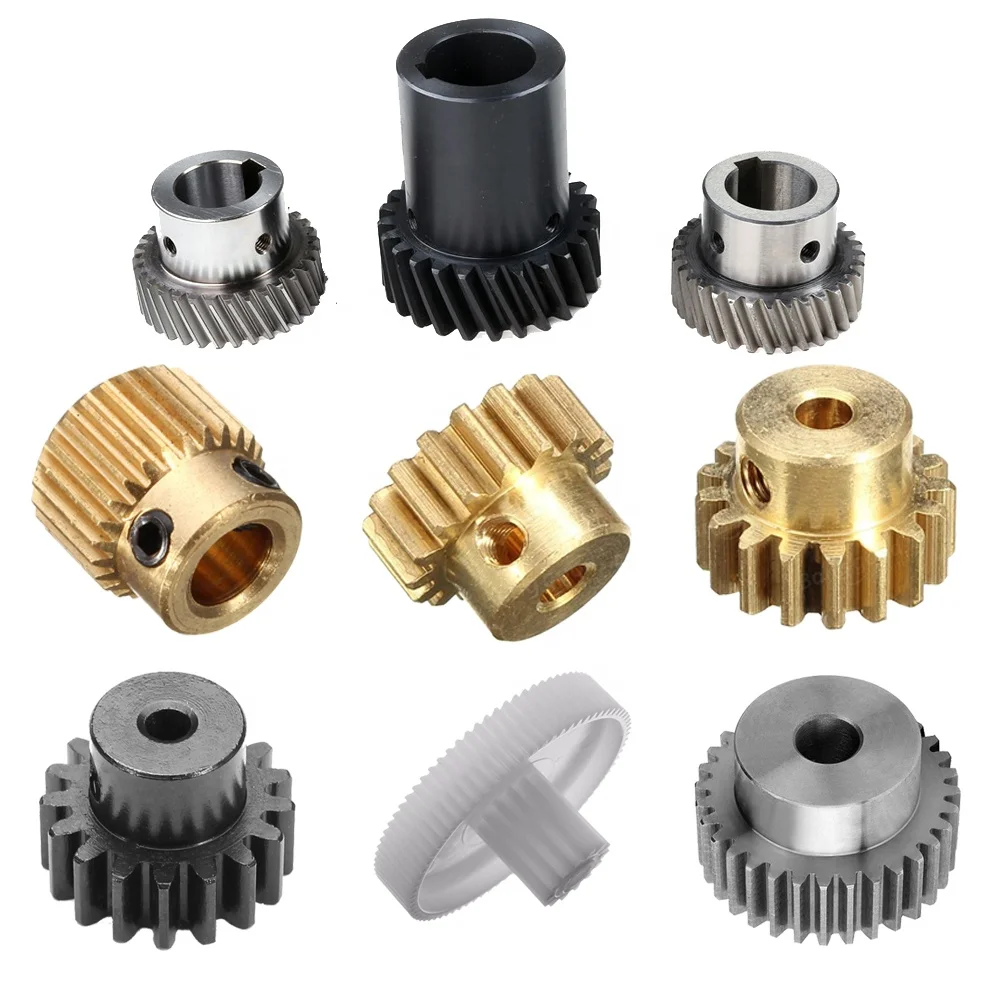
03 Critical Tooling Choices for POM (No Brand Names)
End mill geometry : Sharp, polished flutes with a high‑helix angle (35°–45°). Single‑edge or two‑edge designs evacuate chips best. Avoid standard 4‑flute aluminum cutters – they pack chips and generate excess heat.
Coating : Uncoated carbide or ZrN (zirconium nitride) reduces adhesion. TiAlN is unnecessary and can increase friction.
Tool condition : Replace any tool that has machined metal before. A dull edge will burnish POM instead of cutting, leading to white stress marks. Use brand‑new or plastic‑dedicated tools.
04 Workholding and Warpage Prevention – The Overlooked Key
POM has internal stresses from the extrusion or injection molding process. When you machine away material, those stresses release and the part warps.
Common case: A CNC operator clamped a 200 mm long POM bar tightly on both ends. After machining the top surface, the part bowed 0.4 mm in the middle – scrap.
Solution – stress‑free clamping:
Use full‑contact soft jaws or a vacuum table. Avoid point clamping.
For long thin parts, machine in stages: rough → unclamp to let stress relax (10–15 minutes) → re‑clamp with light pressure → finish.
Leave 0.3–0.5 mm stock on critical dimensions after roughing, then take a final finishing pass with only 0.1 mm radial engagement.
05 Cooling and Chip Evacuation – Do Not Skip
Coolant is optional but air blast is mandatory .
Best practice : High‑pressure air jet (6–8 bar) directed at the cutting zone. It cools the tool, clears chips, and prevents re‑cutting.
If using liquid coolant : Use a fine mist (not flood). Flood coolant can cause POM to absorb moisture (though very slowly) and makes chip cleanup messy.
Never machine dry without air blast – chips will weld onto the tool within seconds.
06 Finishing and Deburring – Achieving “As‑Molded” Edges
POM naturally wants to form a burr on the exit side of a cut. To eliminate hand deburring:
Climb milling only (conventional milling increases burr size by 3×).
Ramp down at the end of a profile cut (lead‑out radius) instead of plunging straight out.
Use a light finishing pass (0.1–0.2 mm radial) at the same feed as roughing, but reduce RPM to 8,000. This shears the burr off cleanly.
For internal corners, specify a corner radius at least 1 mm – sharp internal corners are burr traps.
07 Real‑World Troubleshooting Table
08 Actionable Summary – Your 5‑Step Process for CNC Machining POM
1. Tool prep : Mount a sharp, polished 2‑flute or single‑edge end mill (35°–45° helix). Uncoated or ZrN.
2. Set parameters : 8,000–12,000 RPM, 0.05–0.15 mm/tooth feed, shallow depths.
3. Workholding : Full‑contact jaws, light clamping pressure. For stressed parts: rough → relax → finish.
4. Cooling : Aim a high‑pressure air jet directly at the cutter. Mist coolant optional.
5. Finish : Climb mill + 0.1–0.2 mm radial finishing pass. Inspect for burrs – if any, reduce RPM further.
Final expert advice : Always run a test piece on a scrap block of POM from the same batch before production. Record the exact feeds, speeds, and air pressure that gave a burr‑free, glossy finish. That recipe will repeat reliably. Avoid the temptation to “speed up” – POM rewards patience with perfect parts and zero hand finishing.